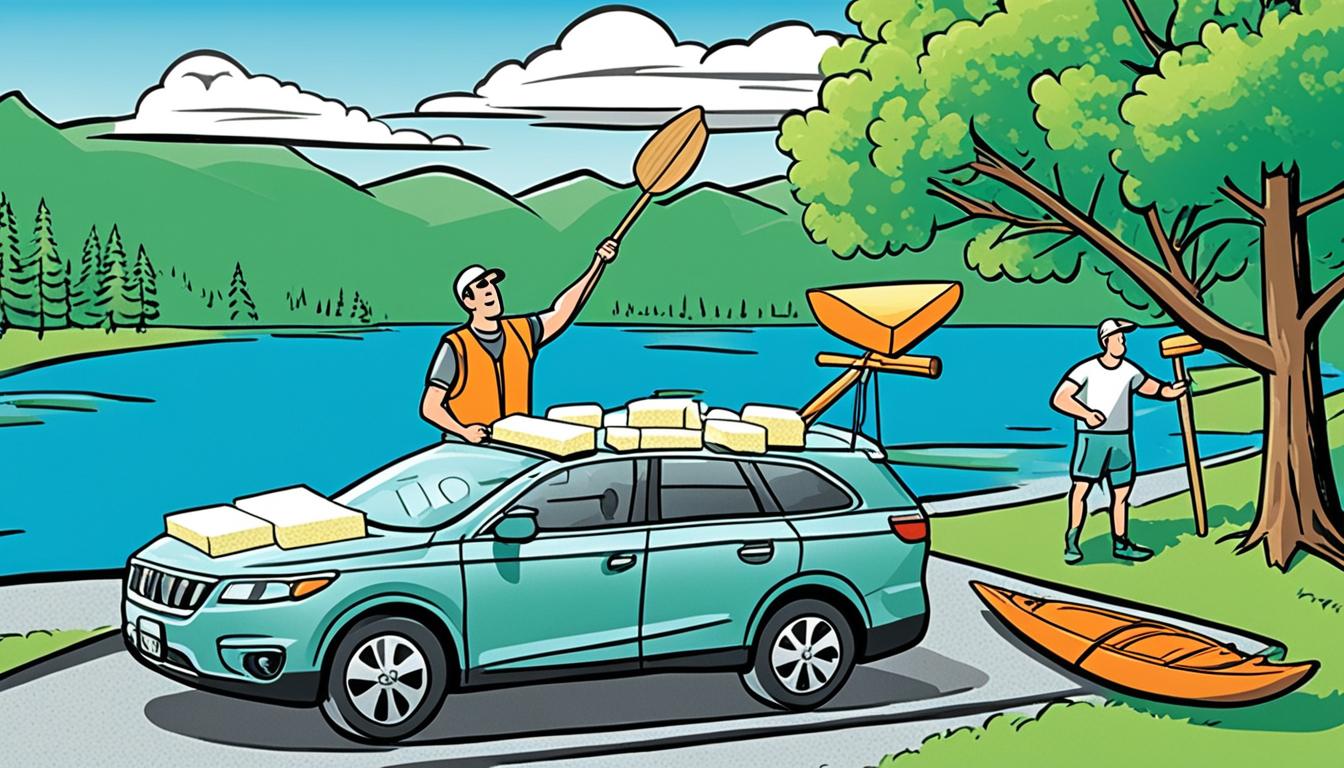
Imagine you’re gliding on serene waters. The gentle ripple of the water guides your canoe. Suddenly, you see a crack or holes in the hull. It feels like a big loss. But, don’t worry! You can fix it with some simple steps. Soon, you’ll be ready to explore the great outdoors again.
In this guide, we’ll show you how to fix your canoe. We’ll cover everything from finding damage to the final touches. This tutorial is for everyone. Whether you’re experienced or new to paddling, you’ll learn how to repair cracks and holes. In no time, your canoe will be as good as new.
Key Takeaways:
- Inspect your canoe thoroughly for cracks and holes.
- Prepare the damaged surfaces for repair by sanding and removing hardware.
- Patch holes using spray insulation foam and tape.
- Repair cracks with fiberglass cloth and epoxy resin.
- Apply a finishing touch with gel coat or marine enamel.
Step 1 – Inspect the Craft for Damage
Before fixing your canoe, it’s crucial to check it for any harm. This careful check lets you find and fix any problems. It ensures the canoe stays strong and works well.
First, look for cracks, holes, and broken parts like thwarts and yokes. Finding damage like cracks, holes, or broken parts helps you know what needs fixing. Even small damages can get worse and make the canoe less stable and safe.
Next, check the thwarts, yoke, and deck for wear and tear. These parts keep the canoe strong and balanced. Fix or replace them to keep the canoe running well.
Write down everything that needs fixing. This keeps you organized and makes sure you don’t miss any damage.
“Inspecting your canoe thoroughly is the first step towards a successful repair. By identifying any damage early on, you can prevent further issues and keep your canoe in top shape.”
To help you understand, here’s an example:
| Area | Damaged Part | Repair Needed |
|---|---|---|
| Front | Crack | Patching and sealing |
| Rear | Hole | Applying fiberglass patch |
| Center | Broken thwart | Replacing with a new thwart |
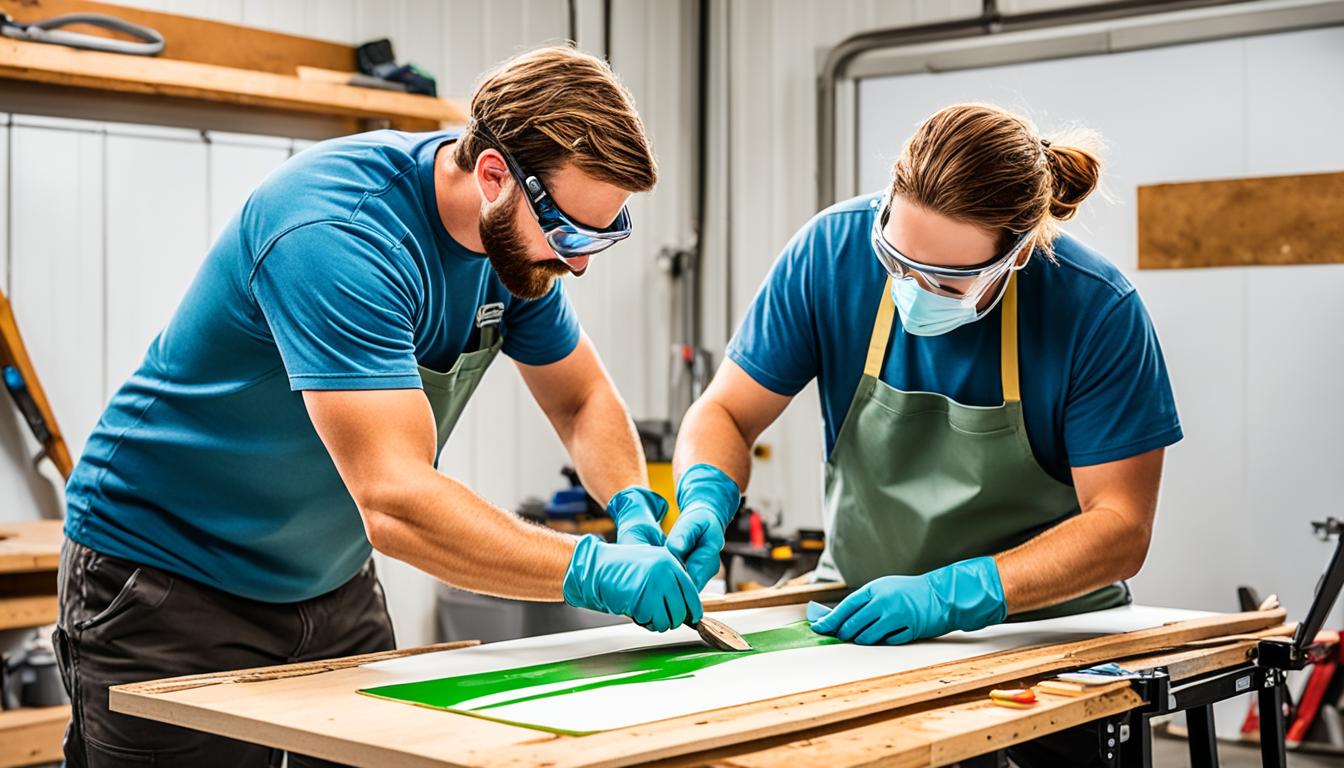
Step 2 – Prepare the Surface for Repair
Before you start the repair, it’s key to prepare the canoe surface correctly. This process includes sanding the damaged spots. You also need to take off any hardware that might block the repair work. Plus, you should fix the gel coat and damaged fiberglass.
1. Sanding
First, sand the damaged spots with sandpaper. Sanding makes the surface smooth so repair materials stick better. Ensure you remove any loose bits of the gel coat and fiberglass.
Use coarse-grit sandpaper first to take off the damaged parts. Then, switch to finer-grit to make the surface smooth. Be careful and gentle to avoid more damage.
2. Removing Hardware
Remove any hardware or plates before starting the fiberglass repair. This includes seats, thwarts, yokes, and anything else not part of the canoe’s structure. Removing these lets you work more effectively and ensures the repair is done right.
3. Addressing the Gel Coat and Damaged Fiberglass
After sanding and hardware removal, check the gel coat and fiberglass underneath. Look for any cracks or chips that need fixing during the repair.
If the gel coat is damaged, you might need to apply a new layer. Use a gel coat repair kit for this. The kit has the necessary materials and instructions.
Check the fiberglass for signs of damage like weakness or separation. If it’s bad, you might need to reinforce or patch it. Decide the best method based on the damage level. Seek a professional’s advice if you need to.
Taking the time to prepare the surface correctly ensures a better repair job. Don’t rush this step. Good preparation is crucial for fixing your canoe well.

| Common Tools for Surface Preparation | Recommended Brands |
|---|---|
| Sandpaper (coarse and fine grit) | 3M, Norton, Mirka |
| Gel Coat Repair Kit | Evercoat, West System, TotalBoat |
Step 3 – Patch Thwarts, Yoke, and Deck
Before fixing the canoe’s hull, it’s key to repair damage to the thwart, yoke, and deck. These parts are essential for the canoe’s structure and stability.
To repair the thwart and yoke, begin with foam filler, like spray insulation foam, for any gaps. This restores their strength and keeps them from getting worse. Make sure the foam filler suits your canoe’s material.
When adding foam filler, follow what the maker says and go step by step. Spray the foam into gaps and shape it with a putty knife or your fingers. Keep the shape with tape while the foam settles.
Now, to the deck. Fixing a ripped deck is crucial before doing other repairs. Start by filling the tear with foam spray, covering it well.
Once the foam hardens, shape it with a knife or sandpaper to match the deck. This ensures the repair blends in and is secure. Take care to get this right.
If the deck needs more support, using a fiberglass tube is a good move. Cut it to size and attach it underneath with epoxy resin. This makes the deck stronger and keeps it safe from damage.

Step 3 Summary:
1. Patch any missing parts of the thwart and yoke with foam filler, like spray insulation foam.
2. Keep the shape of the thwart and yoke with tape as the foam sets.
3. Fill deck tears with foam spray and smooth the edges to match the deck.
4. Use a fiberglass tube to make the deck stronger and more durable.
Next Steps:
With the thwart, yoke, and deck fixed, we’re ready to tackle the canoe’s hull. The next part will show you how to fix cracks and holes. We’ll make sure your canoe is ready for the water.
Step 4 – Repair Cracks and Holes
To ensure your canoe is watertight and sturdy, fix any cracks or holes. You’ll use fiberglass cloth and epoxy resin. This guide walks you through the repair.
1. Assess the Damage
Start by examining the canoe’s hull for cracks and holes. Note their size and location. This determines the repair scope. Small cracks need a single fiberglass layer, but big holes require more.
2. Gather the Materials
Get your materials ready before starting. You need fiberglass cloth, epoxy resin, a mixing cup, a brush or roller, gloves, and a sanding block. Make sure you have enough fiberglass cloth to overlap the damaged spot.
3. Prepare the Surface
Clean and dry the area needing repair. Dirt affects how well the materials stick. Wash it with mild detergent, then let it dry completely.
4. Apply Epoxy Resin
Mix the epoxy resin and hardener as advised by the maker. Apply a thin epoxy resin layer to the area with a brush or roller. This helps the fiberglass cloth to stick.
5. Layer the Fiberglass Cloth
Cut the fiberglass cloth to size, starting with the biggest piece. It should extend beyond the damage. Put it on the wet resin, pressing it down to avoid air bubbles. Add more cloth layers, each slightly smaller and overlapping.
6. Apply Additional Layers if Needed
If the damage is deep, add more fiberglass layers. Repeat the resin and cloth layers until it’s robust. Follow the resin’s curing instructions.

7. Sand the Repaired Areas
After the resin cures, sand the area smooth. Be careful not to sand off the fiberglass cloth. Sanding makes it look better and blend with the canoe.
By following these instructions, you can mend your canoe’s cracks and holes. Always work where there’s fresh air, wear gloves, and follow the product instructions.
Step 5 – Apply Finishing Touches
After you’ve fixed your canoe, it’s time to make it look great. Adding a gel coat or marine enamel will protect it and make it pretty. This step gives your canoe a shiny and new look.
A gel coat will make your canoe shine. It’s a thick coating that protects against the sun, water, and damage. You need to use a special method called roll and tip to apply it.
The roll and tip method involves applying the gel coat and smoothing it out. This removes any air bubbles. Sanding between coats is important for a smooth finish.
Another choice is marine enamel. It’s a type of paint made for boats. It sticks well and lasts long, even in saltwater and sunlight.

To use marine enamel, you should follow the instructions carefully. Apply it in thin, even layers with a soft brush. Let each coat dry fully before adding another.
Important Considerations:
- Make sure your canoe is clean before starting.
- Work in a place with fresh air and wear protection, like gloves and a mask.
- Take your time for a smooth and nice finish.
- You might want to add more than one coat for better protection and look.
- Give the coatings enough time to dry before using your canoe.
Using the roll and tip method for a gel coat or marine enamel makes your canoe look professional. Always follow the instructions and be safe. This will help you get a good result.
Step 6 – Secure Hardware and Add Personal Touches
Once the paint dries, your canoe will look fresh and new. Now it’s time for the finishing touches. Secure any hardware removed during repairs.
Don’t forget to reattach the ID plate. It’s crucial for identifying your canoe. Use pop rivets for a solid fit. This makes sure your canoe is ready for adventures on the water.
Adding stickers gives your canoe a unique feel. It shows off your favorite outdoor brands or the water sports you love. Stickers can also be practical.
Consider tying painter rope to your canoe. It can be tied to the bow or stern. This rope helps secure your canoe at docks or carry it on land. It’s both useful and stylish, coming in different colors and designs.
After adding personal touches and securing the hardware, take a moment to look at your canoe. It’s now ready for more adventures on the water!

Step 7 – Test the Repaired Canoe
After you fix your canoe, it’s key to test it in water. This makes sure the repairs hold up. During this test, look out for any weak spots or leaks that might require more fixing.
For the water test, pick a calm and shallow spot. Carefully put your canoe in the water and watch how it does. Make sure to check the repaired parts like patched thwarts and cracks for leaks.
Watch the canoe in the water for a bit. See if there are any wet spots or signs of water getting in. It’s important to look both outside and inside the canoe for a good check.
Also, keep an eye on the canoe’s paint job. If the paint is new, it might need more time to harden or an extra protective layer. This shields the paint from water damage.
Trying out your canoe in a safe water setting is smart before going on big trips. It gives you a chance to fix any issues. This step ensures your canoe is safe and dependable for your next outing.

| Benefits of a Water Test: | Considerations during Testing: |
|---|---|
|
|
Additional Considerations and Alternatives
While the steps in this guide help with canoe repair, there are other methods to consider. These alternatives can provide unique solutions. They are worth exploring for different repair approaches.
Alternative Repair Methods
Alternative repair methods are really useful for certain kinds of damage or materials. Plastic welding is one method. It melts and fuses damaged plastic to create a strong bond. It’s great for fixing polyethylene canoes because it keeps the canoe’s structure strong and seamless.
Skid Plates for Added Protection
For those in rocky or rough waters, skid plates add extra protection. Made from Kevlar felt, these plates go on the canoe’s bottom. They protect it from impacts. This helps keep the boat safe and extends its life, especially where damage is common.
Remember, trying methods like plastic welding or adding skid plates might need special skills or materials. If you’re interested, talking to professionals or those with experience in these techniques is a good idea.
Looking into different repair methods and adding things like skid plates can make repairing your canoe suit your needs better. These options offer good solutions for certain problems. They also help your canoe last longer.

You now know more about other ways to fix your canoe and protect it. The next part will summarize all the canoe repair steps. This ensures you haven’t missed anything important.
Conclusion
Final thoughts on fixing a canoe
Fixing a canoe might seem tough, but it’s doable with the right steps. By following this guide, you can fix holes, cracks, and make your canoe look great again. It’s a project that will make you proud.
Working on your canoe needs patience and careful attention. Make sure to inspect and get the surface ready. Then, apply the patches well and do the finishing touches properly.
After the repairs, test your canoe to check if everything’s fine. Add your special touches and check all hardware is secure. This ensures a safe and fun time on the water.
So, if you love canoeing or just starting out, don’t hesitate to fix your canoe by yourself. With some effort and these tips, you’ll enjoy your canoe on your next outdoor trip.