TL;DR

Get emergency and outdoor gear delivered free with Prime
- Fast, free delivery on millions of items
- Prime Video, Amazon Music and more included
- Member-only deals all year
Outdoor Life published a guide on Nov. 3, 2026, explaining how to mount a precision riflescope and avoid common installation errors. It covers stabilizing and leveling the rifle, setting scope height and eye relief, and tightening fasteners to manufacturer specifications.
Outdoor Life published a riflescope-mounting guide on Nov. 3, laying out a process for leveling the reticle, setting eye relief and scope height, and tightening mounting screws. The article frames correct installation as a way to avoid common setup mistakes and says manufacturers’ instructions and torque specifications should guide the work.
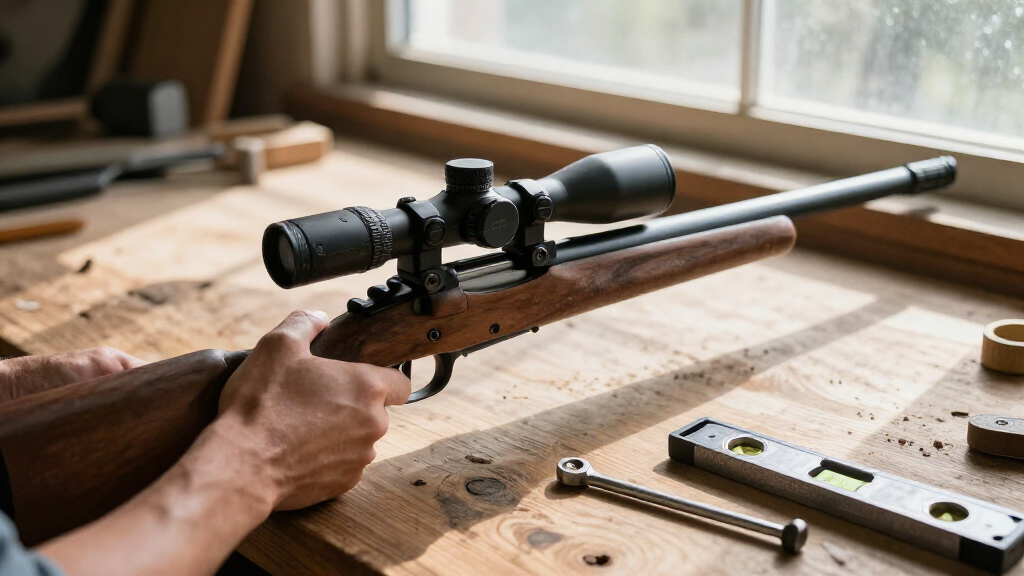
The guide recommends first securing the rifle in a padded bench vise or a stable gun cradle, then using a bubble level to level the action. It suggests placing the level on a flat section of the Picatinny rail when available. With the rifle level, the scope can be set into its rings and the screws lightly tightened so the optic can still be moved and rotated.
To align the reticle, the article describes using a level on a flat surface of the scope’s elevation turret, if the scope has one. It also gives an alternative: look through the optic at a plumb bob and line up the vertical crosshair with the hanging string. After alignment, the shooter should check eye relief and positioning, then tighten the fasteners gradually in an alternating pattern with a torque wrench.
For tightening, Outdoor Life says to follow the scope or ring manufacturer’s specifications where provided. The article offers about 20 inch-pounds for ring screws and about 30 inch-pounds for rail or base screws as rules of thumb, not universal specifications. It also advises applying only a small amount of blue thread-locking compound or degreasing screws before installation, and checking that the ring gaps remain even as the screws are tightened.
Alignment and Fit Shape the Setup
The guide matters to rifle owners because mounting affects how the optic sits and how consistently a shooter can look through it. A reticle that is not aligned with the rifle, an uncomfortable or incorrect eye position, or uneven tightening can undermine the setup. The article’s central point is that the task requires attention to detail even though the steps themselves are straightforward.
Scope height also involves a practical trade-off. The optic needs clearance from the barrel and enough room around the eyepiece, but mounting it too high can make it harder to align the shooter’s head with the rifle, particularly when shooting prone. Outdoor Life gives a quarter- to half-inch objective-bell clearance as a rule of thumb while noting that the rifle’s shape and stock can call for a different fit.
Popular right now

Samsung 75-Inch M80H Series Mini LED 4K Smart TV (2026)

LG 85-Inch QNED73B Mini LED 4K Smart TV (2026)

Ninja Crispi Glass Air Fryer (Stone) – 4‑in‑1
As an affiliate, we earn on qualifying purchases.
A Guide in a Precision-Rifle Series
Outdoor Life describes the article as the first installment in a seven-part series on using precision riflescopes and getting the most from a rifle. It focuses on installation rather than on choosing a scope or testing how a particular optic performs.
The report also notes that some manufacturers publish fastener torque values while others do not. Its suggested figures are therefore general guidance from the article, not a replacement for product-specific instructions. The guide emphasizes checking the fasteners on both the rings and the scope base, which attach different parts of the mounting system.
“The reticle needs to be level with the rifle.”
— Outdoor Life
Torque Values Depend on Hardware
The guide does not identify one torque value that applies to every scope, ring set, rail or rifle. It says manufacturers’ specifications take precedence where available, and the suggested values are general rules of thumb. The article also does not compare mounting methods through testing or establish that a particular setup will suit every shooter or rifle configuration.
Appropriate scope height and eye relief depend on the specific optic, barrel and stock, as well as the shooter’s position. Readers should not treat the example clearance or screw torques as universal measurements. The source material does not state whether later installments in the series have been published.
Check Instructions Before Tightening
For anyone following the guide, the next step is to consult the rifle, scope, ring and base manufacturers’ instructions for fit and torque specifications before final tightening. The article’s sequence then calls for checking the rifle’s level and the shooter’s sight picture, tightening screws gradually and evenly, and verifying that the optic remains correctly positioned.
Outdoor Life presents the piece as the start of a seven-part series, but the supplied report does not give publication dates for the remaining installments. Whether and when those articles will appear is not specified.
Key Questions
What steps does the guide recommend for mounting a riflescope?
It recommends securing and leveling the rifle, positioning and aligning the scope in its rings, checking eye relief and clearance, and tightening fasteners gradually with a torque wrench.
What torque values does Outdoor Life suggest?
The article gives about 20 inch-pounds for ring screws and about 30 inch-pounds for rail or base screws as rules of thumb. It says to use manufacturer specifications when they are available.
How can the reticle be leveled?
The guide describes using a bubble level on a flat spot on the scope’s elevation turret, if available, or aligning the vertical crosshair with the string of a plumb bob while the rifle is level.
How can a shooter check eye relief?
The article recommends getting into a natural shooting position, closing the eyes, resting the cheek on the stock, and then opening the eyes. The view should be clear without moving the head to find the image.
Are the guide’s clearance and torque figures universal?
No. Outdoor Life presents them as general guidance. The appropriate fit depends on the rifle and optic, and manufacturer instructions should take priority for fastener torque.
Source: outdoorlife.com