
The most overlooked yet critical tourniquet rule is placing it properly above the wound—about 2-3 inches higher—so it applies direct pressure on the artery. Many people accidentally place it too low or directly over the injury, making it ineffective. Correct placement can mean the difference between stopping life-threatening bleeding or wasting precious time. Keep practicing this essential step, and you’ll be ready to respond confidently when seconds count. If you want to master this, keep going.
Key Takeaways
- The most commonly missed rule is placing the tourniquet 2-3 inches above the wound, not directly on it.
- Proper tightness is crucial: tighten until bleeding stops without causing unnecessary tissue damage.
- Always secure the tourniquet firmly and ensure it remains tight during transport or movement.
- Reassess circulation carefully before re-releasing or adjusting to avoid re-bleeding.
- Using a wide, sturdy tourniquet and positioning it correctly dramatically improves bleeding control success.

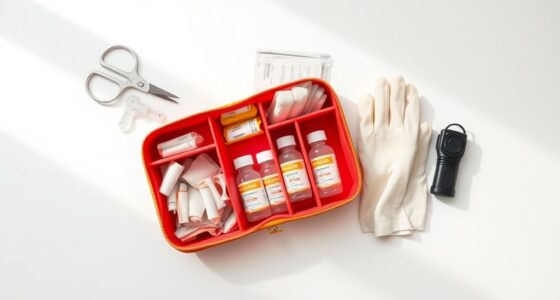
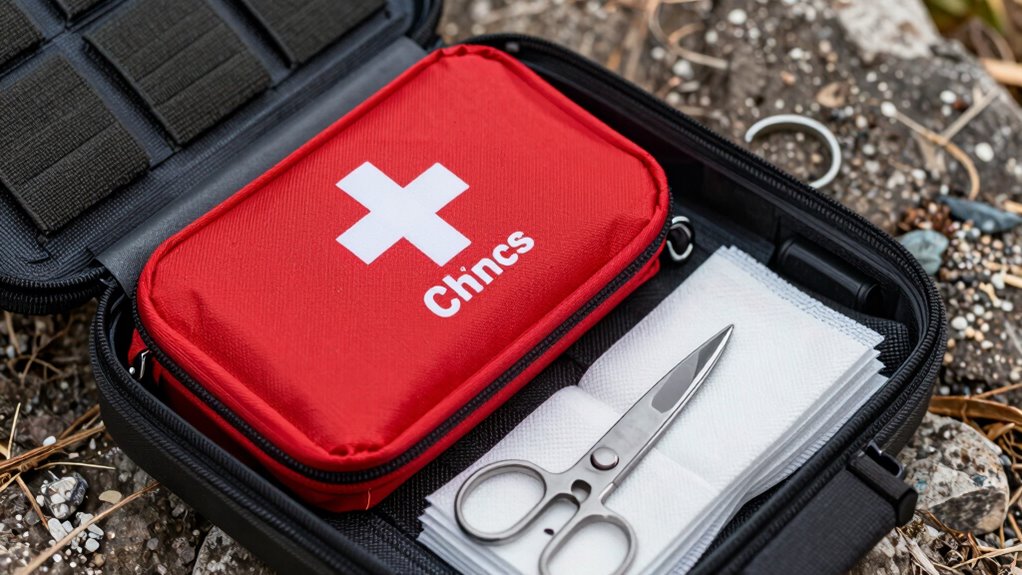
Survival First Aid Kit with Israeli Bandage, Chest Seal, Tourniquet, Splint, Tactical Military Combat Molle IFAK for Wound Care, Bleeding Control, Trauma Hemorrhage and More (Black)
Military Emergency Hemostasis Kit ▶ Contains 6" Israeli Bandage, Snap-on Tourniquet, Chest Seal, Splint, Knife, EMT Blunt Scissor,…
As an affiliate, we earn on qualifying purchases.
As an affiliate, we earn on qualifying purchases.
Why Tourniquets Are Life-Savers in Bleeding Emergencies
When someone is bleeding heavily from a limb, applying a tourniquet quickly can be be the difference between life and death. Many people believe tourniquets are dangerous or only used as a last resort, but these are tourniquet myths that can cost lives. Some think they cause permanent damage, yet in emergencies, controlling severe bleeding takes precedence. Bleeding myths suggest that applying pressure alone is enough, but when blood loss is rapid, a tourniquet can stop it immediately. Remember, a properly applied tourniquet is a crucial tool, not a last-ditch effort. It’s essential to dispel these misconceptions so you can act confidently and effectively during a bleeding emergency. In critical moments, a tourniquet saves lives, not harms them. Additionally, understanding the contrast ratio of a projector can help ensure clear and detailed visuals during training or demonstrations. Proper training and awareness about Free Floating can further improve emergency response effectiveness. Being familiar with emergency protocols allows for quicker decisions and better outcomes in life-threatening situations. Recognizing the importance of proper application techniques can also help prevent potential complications and ensure maximum effectiveness of the tourniquet. Developing wiring best practices can ensure safety and reliability in emergency medical equipment, preventing issues like heat buildup or hazardous fumes.

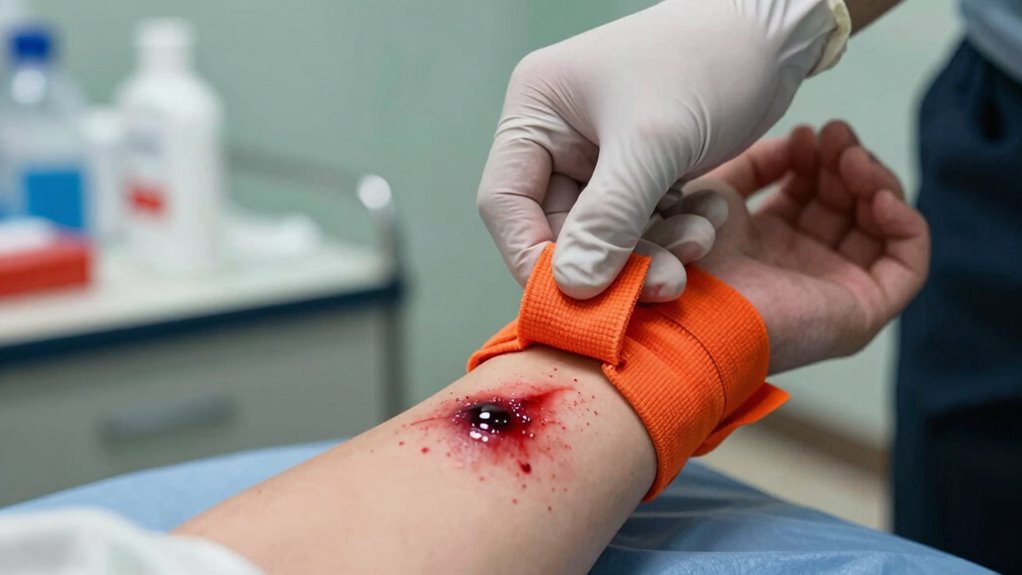
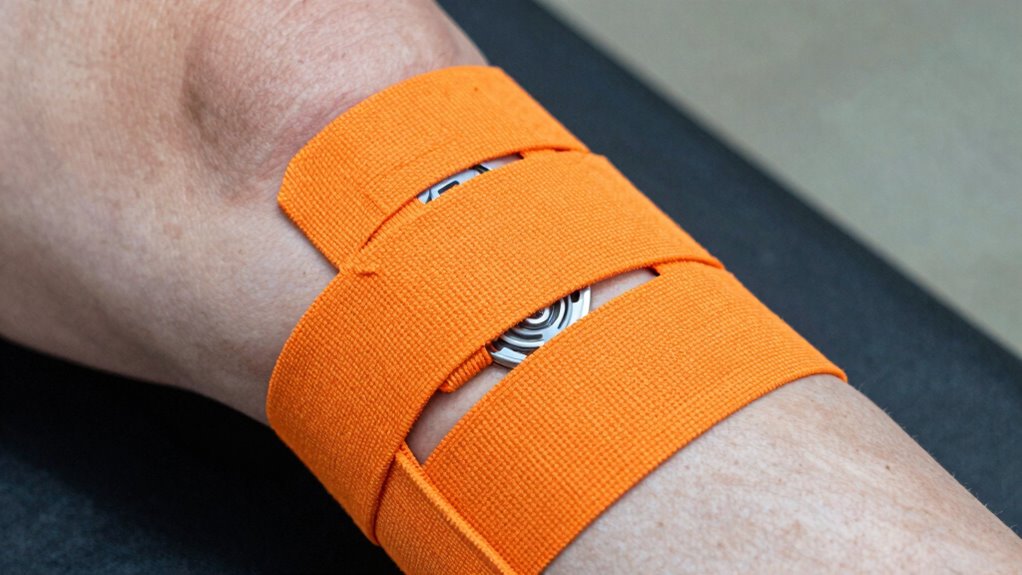
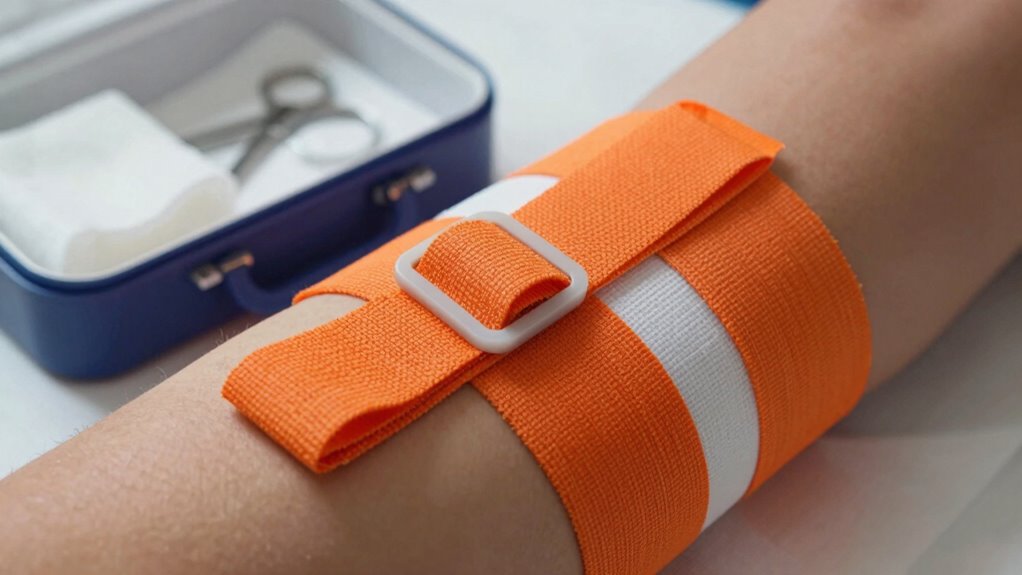
SOF Tourniquet (Generation 5) – Military-Grade Tourniquet for Severe Bleeding Control, Essential First Aid for Tactical, Emergency, and Civilian Use (Orange), TacMed Solutions
Patented & Battle-Tested Design: Trusted by elite military forces and first responders worldwide, this tourniquet has proven its…
As an affiliate, we earn on qualifying purchases.
As an affiliate, we earn on qualifying purchases.
When Is a Tourniquet Needed? Recognizing Severe Bleeding
Knowing when to use a tourniquet can save a life, especially during severe bleeding. Look for signs like spurting blood, inability to control bleeding with direct pressure, or if the wound is deep and limb-threatening. Recognizing the difference between minor and major bleeding helps determine if a tourniquet is necessary. Remember that specialized kitchen gear, like certain tools, can sometimes be used in emergency situations to assist with pressure or immobilization.
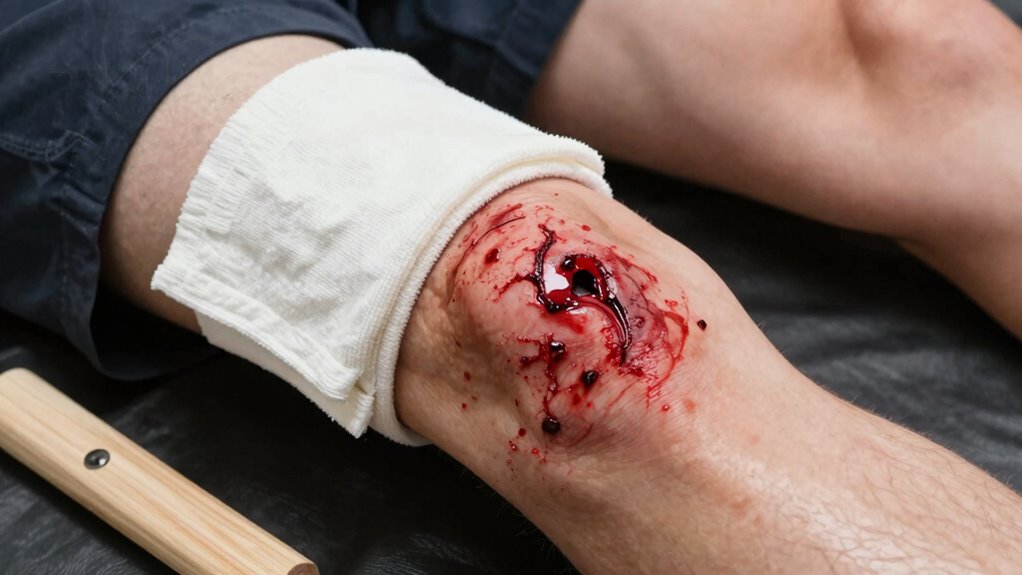
Signs of Severe Bleeding
Severe bleeding requires immediate action because it can quickly lead to life-threatening blood loss. Recognizing signs of severe bleeding is *essential* to know when to apply a tourniquet or other first aid measures. Key indicators include large amounts of blood, spurting blood, or blood soaking through clothing and bandages. Different bleeding types—arterial, venous, or capillary—may show distinct signs, but all can be dangerous if uncontrolled. Keep your first aid kit stocked with supplies to manage severe bleeding until professional help arrives. Here’s a quick guide:
| Sign | Description | Urgency |
|---|---|---|
| Large blood volume | Excessive bleeding from wound | Immediate action |
| Spurting blood | Arterial bleed, pulsates with heartbeat | Critical indicator |
| Blood soaking through bandages | Indicates heavy bleeding | Need for tourniquet |
When to Apply Tourniquet
A tourniquet is necessary only when bleeding is uncontrollable and life-threatening. If bleeding doesn’t slow despite applying pressure, it’s time to consider a tourniquet. Many fall for tourniquet myths and bleeding misconceptions, thinking they’re always dangerous or unnecessary. Recognize severe bleeding by looking for these signs:
- Heavy, spurting blood that won’t stop
- Blood pooling quickly, soaking through clothes or bandages
- Bleeding from an extremity that remains uncontrolled
- Loss of pulse below the injury
- Patient showing signs of shock or distress
- Proper application of a tourniquet is critical to avoid further damage. Understanding the appropriate use of a tourniquet can significantly improve outcomes in critical situations. Additionally, knowing how to identify severe bleeding ensures timely intervention and can be lifesaving.
Differentiating Minor Versus Major
Understanding the difference between minor and major bleeding is crucial for deciding when to use a tourniquet. Major bleeding involves blood loss from a damaged blood vessel that cannot be controlled with pressure alone. If the bleeding is severe, spurting or continuous, and doesn’t slow down with direct pressure, it indicates high injury severity. You’ll notice rapid blood loss, large amounts of blood, or blood pooling, signaling a critical need for a tourniquet. Minor bleeding, on the other hand, is usually slow, steady, and controlled with simple pressure. Recognizing these signs helps you act quickly and appropriately. When blood vessel injury causes uncontrolled bleeding that threatens life, applying a tourniquet becomes necessary to prevent excessive blood loss and save lives. Effective bleeding control relies on understanding these differences to ensure proper response.

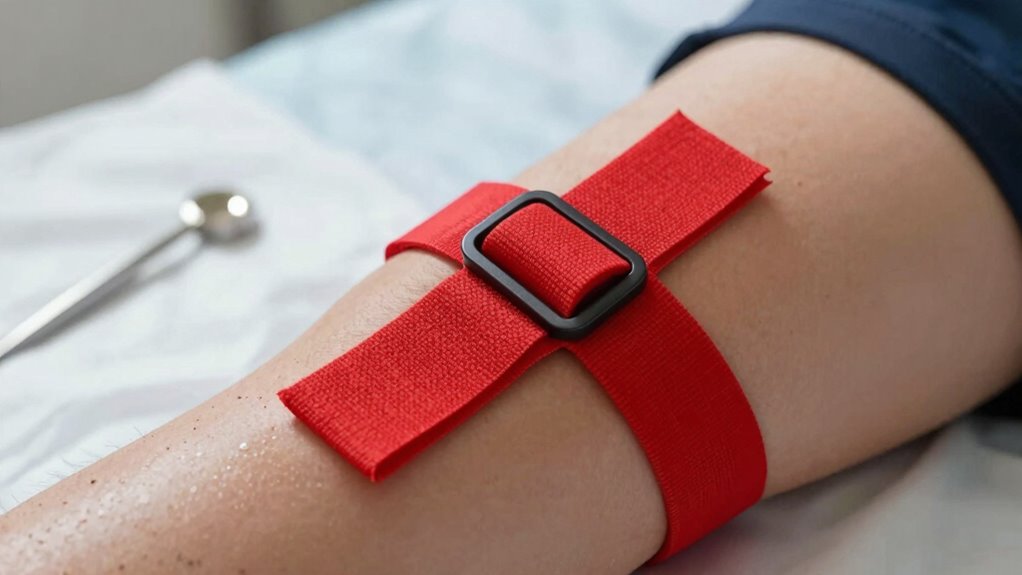
YChoolco Tourniquet, Emergency Trauma Tourniquet, One-Handed Operation Self-Application Tactical Medical Tourniquet for Life-Saving Blood Loss Control in Tactical, Hunting, EDC Kits, 17-120cm
🔴 INSTANT HEMOSTASIS (RAPID BLOOD LOSS CONTROL): Our tourniquet is designed for critical situations where every second counts….
As an affiliate, we earn on qualifying purchases.
As an affiliate, we earn on qualifying purchases.
How to Properly Apply a Tourniquet Step-by-Step
To properly apply a tourniquet, start by preparing it and making sure it’s ready to use. Next, position it correctly above the wound, about 2 inches above the bleeding site. It is also helpful to use a properly fitted tourniquet to ensure effective bleeding control. When selecting a tourniquet, opt for one that is designed for medical emergencies to guarantee reliability. Additionally, checking the ingredients in topical products can help prevent adverse reactions when applying substances near a wound. Finally, secure it tightly until the bleeding stops, ensuring it’s firm but not causing unnecessary damage. Remember, applying a tourniquet too loosely can be ineffective, so understanding proper tourniquet application techniques is essential for effective bleeding control.
Prepare the Tourniquet
Before applying a tourniquet, it’s essential to select the proper one and prepare it correctly. Knowing your tourniquet history helps you understand its importance. To prepare effectively, consider these steps:
- Ensure the tourniquet is sturdy and wide enough to stop bleeding
- Check for any damage or defects
- Familiarize yourself with advanced techniques for quick application
- Keep it within reach in your first aid kit or emergency kit
- Practice handling it to build confidence and speed
- Understanding the history of tourniquets can help you appreciate their significance in emergency care.
- Recognizing regional variations in tourniquet design can aid in selecting the most effective type for different situations.
- Gaining awareness of modern innovations in tourniquet technology can improve your preparedness and response time.
- Gaining knowledge of proper application techniques ensures you can act confidently and effectively in critical moments.
- Additionally, studying proper maintenance methods can extend the lifespan and reliability of your tourniquet.
Proper preparation guarantees you can act fast when needed. Using the right tourniquet and understanding its history can improve your response. Mastering advanced techniques can make all the difference in controlling severe bleeding efficiently.
Position Correctly
Proper positioning is crucial for a tourniquet to effectively control bleeding and prevent further injury. Place the tourniquet 2-3 inches above the bleeding site, aiming to cover the source completely. Use the appropriate bandage type—whether a commercial tourniquet or a makeshift one like a cloth strap—to ensure secure placement. Confirm that the tourniquet sits snugly on the limb, but isn’t so tight that it cuts off circulation prematurely. The goal is to compress the artery firmly enough to stop blood flow without causing additional harm. Adjust the position if needed, making sure it’s high enough to avoid joint areas, which can compromise bleeding control. Proper positioning maximizes the tourniquet’s effectiveness and stabilizes the victim until further help arrives. Regular checks can prevent issues with appliance maintenance, especially in critical situations where timely intervention is essential. Ensuring the tourniquet remains correctly application technique is vital for optimal bleeding control. Additionally, verifying that the tourniquet is placed over major arteries can significantly improve its effectiveness.
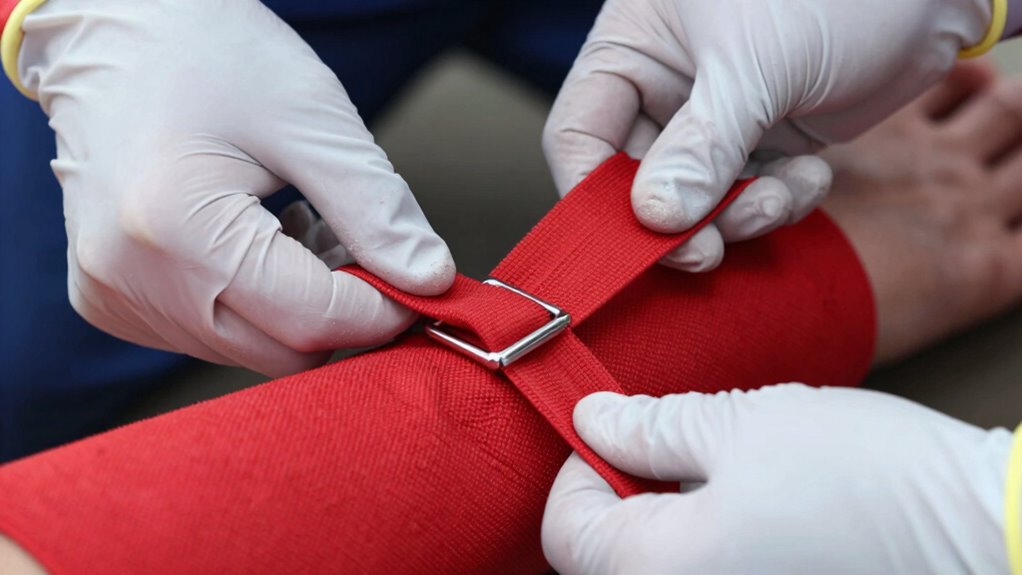
Secure Tightly
Once you’ve positioned the tourniquet correctly, it’s time to secure it tightly. Use a tight grip and a firm hold to guarantee it stays in place. This step is vital to control bleeding effectively. To do this:
- Tighten the windlass or strap firmly, so the bleeding stops.
- Keep consistent pressure without loosening.
- Check that the tourniquet stays in place during movement.
- Confirm it’s tight enough to cut off blood flow.
- Avoid over-tightening, which can cause tissue damage.

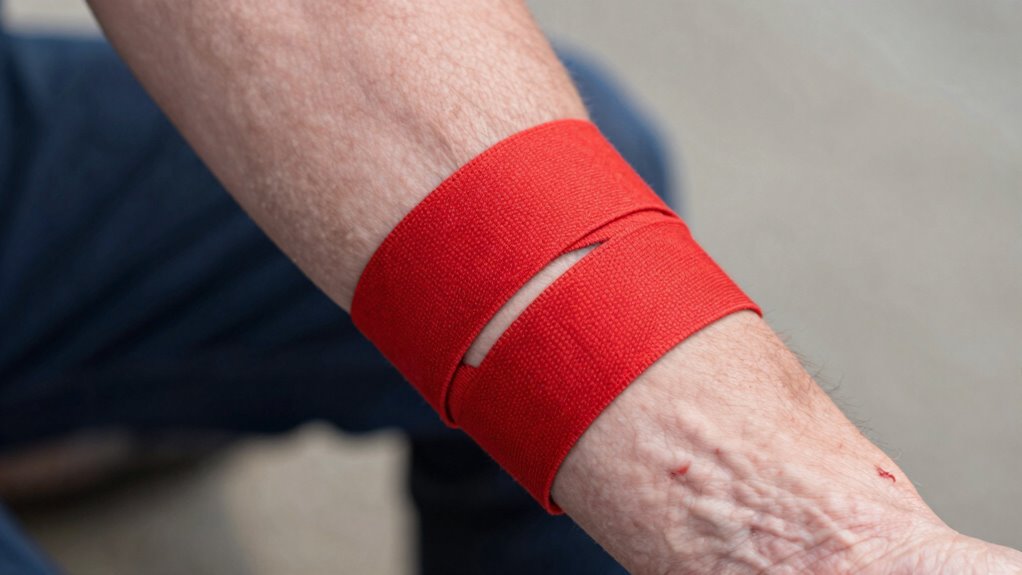
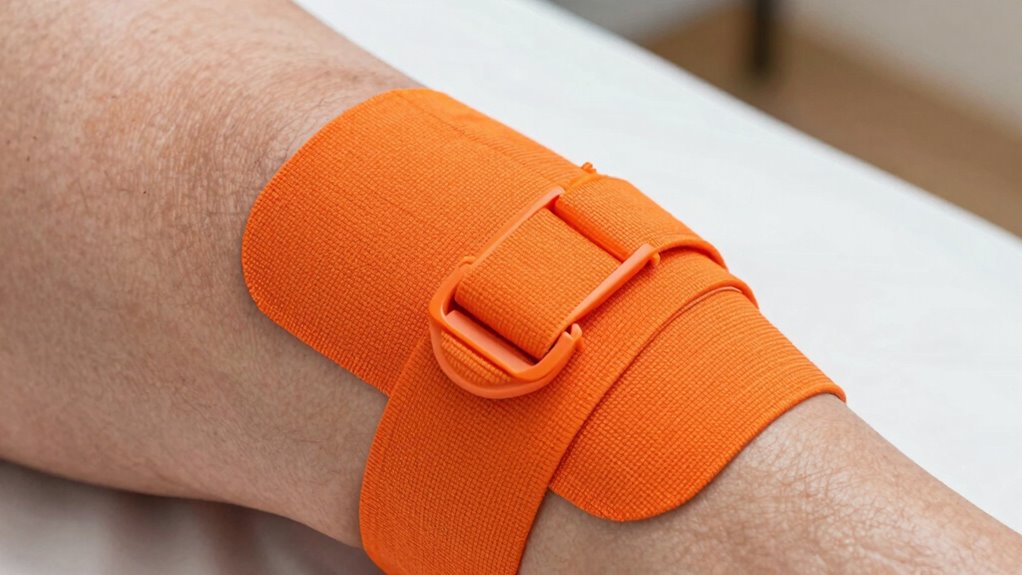
Ewinever 6-Pack Tourniquet Elastic First Aid Quick Release Medical Sport Emergency Buckle Band
MEDICAL EMERGENCY TOURNIQUET:Highly flexible, latex free cotton ribbon which is gentle on the skin.More safer, more durable, more…
As an affiliate, we earn on qualifying purchases.
As an affiliate, we earn on qualifying purchases.
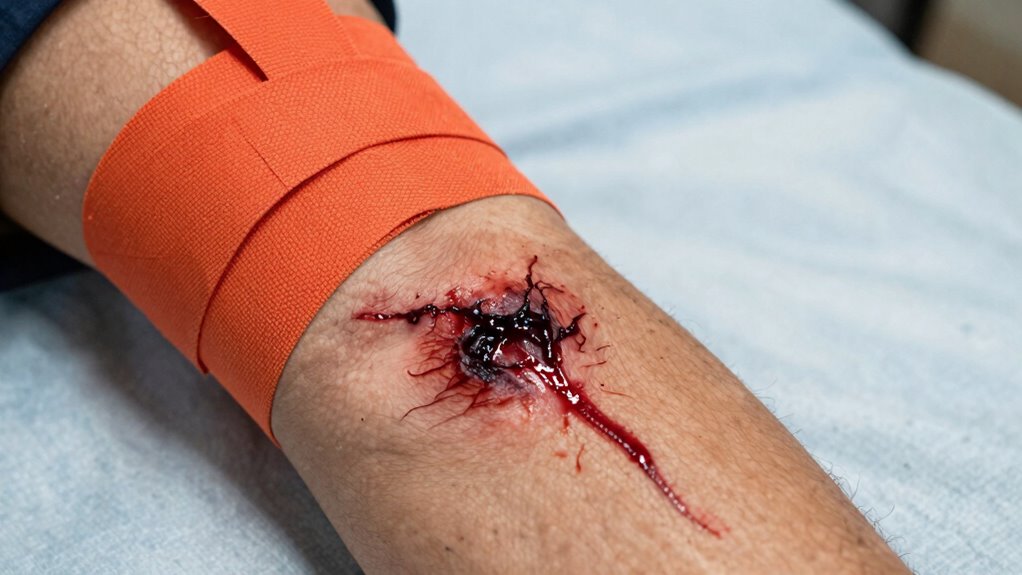
The Key Tourniquet Placement Rule Most People Miss
Many people miss the most important rule when placing a tourniquet: it must be applied above the bleeding site, closer to the heart. This is the key to effective tourniquet placement and tourniquet accuracy. If you place it too low, bleeding can continue, risking severe blood loss. To guarantee proper placement, identify the bleeding point and position the tourniquet a few inches above it, not directly over a joint or wound. Applying it correctly assures maximum pressure on the artery, stopping blood flow efficiently. Remember, the goal is to cut off circulation upstream of the injury. Proper tourniquet placement isn’t just about tightness; it’s about accuracy—placing it correctly to save lives. Mastering this rule is vital for effective bleeding control.
Common Mistakes When Applying a Tourniquet (And How to Avoid Them)
One common mistake is placing the tourniquet incorrectly, which can fail to stop the bleeding. Applying too much pressure can cause unnecessary damage, while too little may not control the flow. It’s essential to assess the severity of the bleeding to determine the proper application and avoid these pitfalls.
Incorrect Tourniquet Placement
Incorrect tourniquet placement is a common mistake that can reduce its effectiveness and increase the risk of complications. Proper placement is essential for controlling bleeding effectively. Many people believe tourniquets must be applied directly over the wound, but this is a myth. Instead, place the tourniquet 2-3 inches above the injury site, on healthy, flat tissue. Common errors include:
- Applying it too close or too far from the wound
- Placing it on a joint or bony area
- Using an improper width or size
- Ignoring the need for proper alignment
- Relying on incorrect tourniquet myths rather than best practices
Avoid these mistakes to ensure your tourniquet works effectively when needed most.
Excessive Tightening Pressure
Are you applying enough pressure when securing a tourniquet? Excessive tightening can be just as problematic as too little. Too much tourniquet pressure risks damaging nerves, muscles, or tissues beyond the injury site. It may also cause unnecessary pain or restrict blood flow to areas above the wound, complicating the situation. The goal is to tighten the tourniquet firmly enough to stop bleeding without overdoing it. You should aim for a snug fit that compresses the artery, but avoid excessive tightening that causes additional injury or discomfort. Remember, the priority is controlling hemorrhage effectively. If you feel resistance or increased pain, loosen slightly and check if bleeding has slowed. Proper tourniquet pressure is essential for safe, effective bleeding control.
Ignoring Bleeding Severity
Ignoring the severity of bleeding can lead to ineffective treatment and worsening injury. Many fall for bleeding myths that downplay the need for immediate action, risking delays that can cost lives. Understanding tourniquet history reveals how early misconceptions hinder proper use, but modern guidelines emphasize evaluating bleeding severity first. If you underestimate a wound’s seriousness, you might not apply the tourniquet correctly or early enough. Remember:
- Not all bleeding requires a tourniquet
- Excessive delays worsen outcomes
- Tourniquets aren’t a one-size-fits-all solution
- Ignoring signs of arterial bleeding can be deadly
- Proper training helps avoid misjudging severity
How to Secure and Tighten Your Tourniquet for Best Results
To guarantee your tourniquet effectively stops bleeding, you need to secure and tighten it properly. First, remove any clothing or obstructions from the limb. Place the tourniquet high above the wound, ideally 2-3 inches above the bleed. Tighten it until the bleeding stops, ensuring it’s snug but not cutting off circulation to the whole limb. Remember, tourniquet myths often suggest you need to tighten excessively, but bleeding myths show that a firm, controlled tightening works best. Avoid the temptation to over-tighten, which can cause unnecessary tissue damage. Secure the windlass or strap so it won’t loosen, and check that the tourniquet stays tight during transport. Proper securing and tightening are *essential* for effective bleeding control and avoiding complications.
When and How to Reassess or Re-Release a Tourniquet Safely
Knowing when and how to reassess or re-release a tourniquet is crucial for ensuring ongoing bleeding control without causing additional harm. You should carefully evaluate the situation before attempting to re-assess safety or remove the tourniquet. Consider these points:
- Check for signs of improved circulation, like capillary refill or skin color changes.
- Watch for excessive bleeding or signs of shock.
- Reassess the tightness of the tourniquet; it may need adjustment.
- Be cautious; premature removal can cause renewed bleeding.
- Always re-evaluate the overall condition of the victim before tourniquet removal.
Essential Gear for Effective Tourniquet Use
Having the right gear is vital for applying a tourniquet effectively and quickly during emergencies. Many tourniquet myths can lead to improper use, so having a high-quality, proven device is essential. Choose a commercially designed tourniquet, like a CAT or SOF-T, instead of makeshift options. These are reliable and designed for rapid application. While tourniquets are the gold standard, understanding alternative hemostatic methods, such as hemostatic dressings or pressure bandages, can be lifesaving if a tourniquet isn’t available. However, don’t rely solely on myths or misconceptions about tourniquet use. Proper gear guarantees you can apply pressure correctly, reduce blood loss, and increase the chances of saving a life until professional help arrives.
Practice Drills to Build Confidence in Tourniquet Application
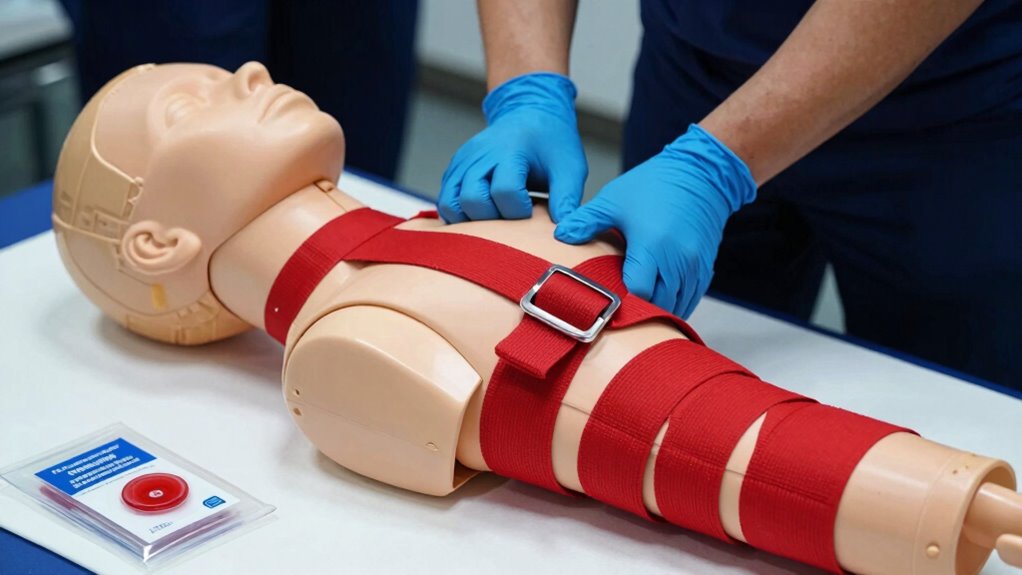
Practicing tourniquet application regularly is essential to guarantee confidence and assure quick, effective responses in emergencies. Many bleeding myths can lead to hesitation, but mastering the first aid fundamentals builds trust in your skills. To strengthen your technique, engage in realistic drills that mimic real-life scenarios.
- Use training pads or mannequins to simulate limbs
- Time yourself to improve speed and efficiency
- Practice correct placement above the bleeding site
- Incorporate stress-inducing elements to simulate panic
- Review proper tightening and securing methods
These drills help you become comfortable with the process, making hesitation less likely when it truly counts. Consistent practice solidifies your ability to act swiftly and confidently, ensuring you can save a life when it matters most.
Other Techniques to Control Severe Bleeding if a Tourniquet Isn’t an Option
When applying a tourniquet isn’t possible, controlling severe bleeding requires alternative techniques that can still effectively slow blood flow and prevent shock. First aid for bleeding control includes applying direct pressure to the wound with a clean cloth or sterile dressing. If bleeding continues, you can try using a pressure bandage to maintain firm pressure. Elevating the injured limb above heart level helps reduce blood flow, but only if it doesn’t cause more harm. Applying a pressure point—pressing on arteries supplying the wound—can also slow bleeding temporarily. Remember, your goal is to minimize blood loss until professional help arrives. These immediate first aid measures are vital in managing severe bleeding when a tourniquet isn’t an option, helping to stabilize the victim.
Frequently Asked Questions
Can a Tourniquet Be Used on Limbs With Broken Bones?
Yes, you can use tourniquet application on limbs with broken bones if there’s severe bleeding that can’t be managed otherwise. Broken limb considerations include avoiding placing the tourniquet directly over a broken bone, if possible, to prevent further injury. You should tighten it until bleeding stops and the limb becomes numb or pale, but always make certain you’re applying it proximal to the wound, aiming to control life-threatening bleeding first.
How Long Can a Tourniquet Safely Stay in Place?
Imagine the tourniquet as a vital stop sign. You shouldn’t leave it on forever; generally, it’s safe for up to 2 hours. After that, tissue damage risks increase. When you’re ready for tourniquet removal, do so carefully, watching for bleeding. Proper tourniquet application is essential, but knowing when and how to remove it can prevent further harm. Always prioritize swift, informed action to save a life.
Are There Any Risks of Nerve Damage From Tourniquet Use?
Using a tourniquet can pose risks of nerve injury if applied improperly or left on too long. Tourniquet safety is vital; it can compress nerves, leading to temporary or permanent nerve damage. To minimize this risk, make certain the tourniquet is tight enough to stop bleeding but not excessively tight, and avoid leaving it on longer than necessary. Proper training helps prevent nerve injury and guarantees effective bleeding control.
What Are Alternative Methods if a Tourniquet Isn’T Available?
Did you know that about 80% of bleeding deaths occur from extremity injuries? If a tourniquet isn’t available, you should focus on applying pressure directly to the wound or using pressure points like the brachial or femoral arteries to control bleeding. You can also improvise bandages from clothing or other materials, ensuring they’re tightly secured. Elevate the limb if possible, and keep the victim calm while waiting for professional help.
How to Identify if a Tourniquet Is Too Tight or Too Loose?
To tell if your tourniquet is too tight or too loose, focus on proper placement and bleeding control. If it’s too tight, you’ll notice numbness, tingling, or increased pain beyond the injury; if too loose, bleeding may persist or worsen. make certain the tourniquet is snug enough to stop blood flow without cutting off circulation completely. Regularly check for signs of proper blood flow and adjust as needed for effective bleeding control.
Conclusion
Remember, a tourniquet can be a lifesaver, but only if you use it correctly. While it might seem simple, missing the vital placement rule can turn a lifesaving tool into a danger. When seconds count, your confidence and knowledge make all the difference. In emergencies, knowing when to act and how to do it right isn’t just helpful—it’s essential. Stay prepared, stay calm, and be ready to save a life when it matters most.