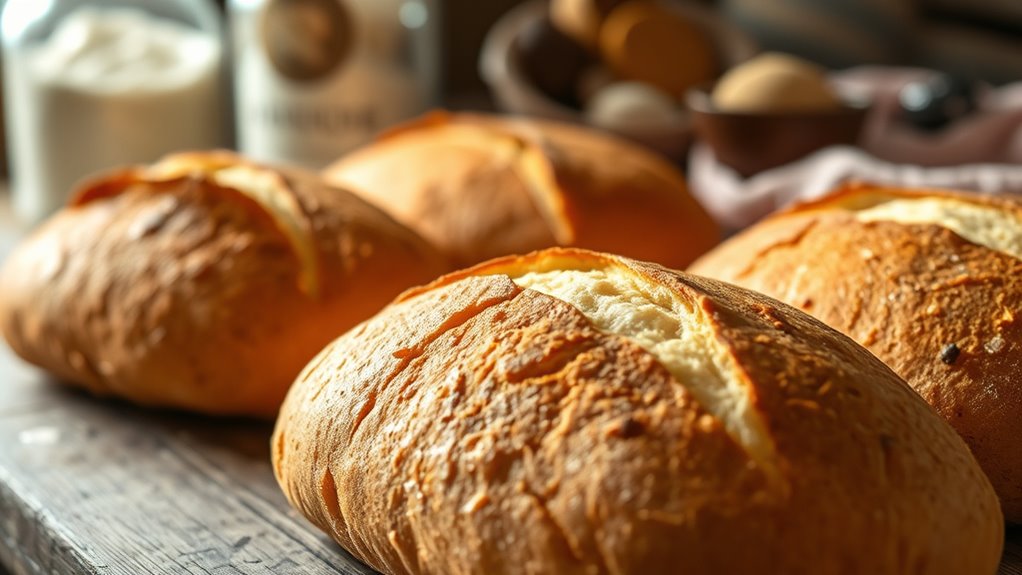
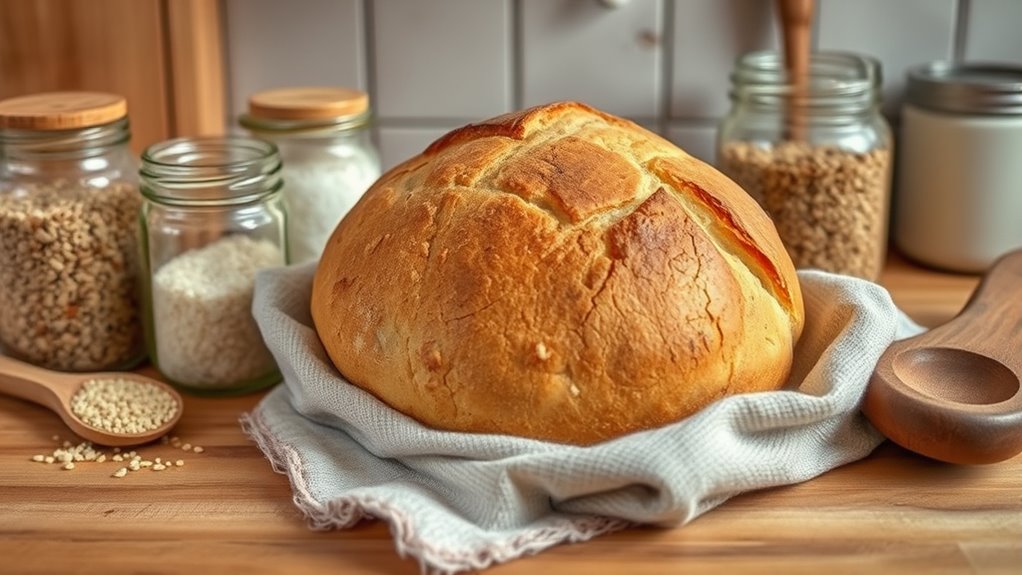
With shelf-stable staples like flour, salt, and dried yeast, you can easily make no-knead bread that’s crusty and flavorful. Just mix your ingredients, let the dough ferment for 12-24 hours, and then bake it in a preheated Dutch oven for that perfect artisan crust. This simple approach frees up your time and uses pantry essentials, ensuring steady bread availability. Keep going to discover more tips to perfect your no-knead baking.
Key Takeaways
- Use basic pantry ingredients like flour, yeast, salt, and water to make no-knead bread with minimal effort.
- Mix ingredients, let dough ferment overnight for flavor development and gluten structure.
- Bake in a preheated Dutch oven or heavy pot to achieve crusty, artisan-style bread.
- Prepare dough in advance, allowing flexible scheduling and long fermentation times.
- Incorporate different shelf-stable flours for variety and enhanced flavor profiles.

In times when fresh bread isn’t readily available, turning to no-knead recipes with shelf-stable staples can be a game-changer. These recipes let you bake crusty, satisfying loaves without much effort or special equipment. You can keep basic ingredients like flour, salt, and yeast in your pantry, ready to transform into fresh bread whenever you need it. The beauty of no-knead bread lies in its simplicity; you mix everything in one bowl, let it rest, and then bake. No kneading, no complicated techniques—just patience and a bit of planning.
Using shelf-stable staples means you don’t need to worry about running to the store for fresh yeast or special ingredients. Most of what you need is probably already in your pantry. For example, all-purpose flour and salt are everyday essentials, and dried yeast stores well for months. Once you have these basics, you can experiment with different types of flour like whole wheat, rye, or spelt to add variety and flavor. These ingredients are versatile, allowing you to adapt your bread to whatever you have on hand or prefer. Plus, since no-knead bread relies on a long fermentation process, you can prepare the dough a day or two in advance, freeing up your time.
The process is straightforward: combine your dry ingredients, add water, and stir until just mixed. The dough will be sticky but manageable. Cover it with a cloth or plastic wrap, and let it rest at room temperature for 12 to 24 hours. During this time, the yeast ferments the flour, developing flavor and gluten structure. When you’re ready to bake, preheat your oven with a Dutch oven or heavy pot inside. Shape your dough into a round, place it in the hot vessel, and bake with the lid on for the first half of cooking. This traps steam, creating that beautiful crust. Remove the lid for the last 10-15 minutes to finish browning.
This method is perfect for busy schedules because it’s forgiving and doesn’t require constant attention. It also produces bread with a chewy crumb and a crisp crust, almost like artisan loaves. Plus, since you’re using shelf-stable ingredients, your bread supply is more reliable, and you can enjoy fresh, homemade bread even when fresh ingredients are scarce. Incorporating techniques like proper fermentation enhances color accuracy and flavor development, making your bread even better. Once you get the hang of it, you’ll find that no-knead bread becomes a staple in your routine—an easy, dependable way to bake good bread with what you already have.
Frequently Asked Questions
Can I Customize No-Knead Bread Recipes With Different Herbs?
Yes, you can definitely customize no-knead bread recipes with different herbs. Just mix your chosen herbs into the dough before the fermentation process begins. Fresh or dried herbs both work well, so feel free to experiment with rosemary, thyme, basil, or oregano. Keep in mind that dried herbs are more concentrated, so use them sparingly. This way, you add flavor without altering the bread’s texture or rise.
How Long Can No-Knead Bread Be Stored Without Refrigeration?
Think of your no-knead bread as a trusty traveler’s satchel. It can stay fresh at room temperature for about 2 to 3 days, much like a bag of supplies on a quick journey. To keep it tasting its best, store it in a paper bag or bread box—avoid plastic that traps moisture. If you want longer storage, freeze slices or the whole loaf, and enjoy later like a well-packed adventure.
Are There Gluten-Free Variations of No-Knead Bread?
Yes, you can make gluten-free no-knead bread. Instead of traditional wheat flour, use gluten-free options like rice, almond, or oat flour. Mix your chosen flour with water, salt, and a bit of baking soda or baking powder for rise. Let it rest, then bake in a preheated oven. Keep in mind, gluten-free breads may have a different texture and shelf life, so store them in an airtight container.
What Are Common Mistakes to Avoid When Baking No-Knead Bread?
You might think your bread’s ruined if it’s too dense or flat, but avoid common mistakes like not letting the dough ferment enough or using too little water. Don’t skip preheating your Dutch oven, as it creates a perfect crust. Overhandling the dough can also deflate the rise. Keep your measurements precise, trust the process, and patience will yield a beautifully airy, crusty loaf every time.
Can I Make No-Knead Bread Using Alternative Flours?
Yes, you can make no-knead bread with alternative flours. Just remember, different flours absorb water differently, so you might need to adjust the hydration level. For example, using almond or oat flour may require less water, while whole wheat or rye might need a bit more. Be patient and expect some experimentation to achieve the best texture and rise. Keep notes to refine your recipe over time.
Conclusion
So, seize the simple, satisfying spirit of slow, sturdy baking. With just a few shelf-stable staples, you can craft crusty, comforting loaves that last and impress. Embrace the ease, enjoy the aroma, and elevate your everyday eats. Baking for the long haul isn’t just about bread — it’s about building beautiful, bold bonds with your kitchen and your craft. Start small, stay steady, and savor the soulful satisfaction of no-knead baking.


