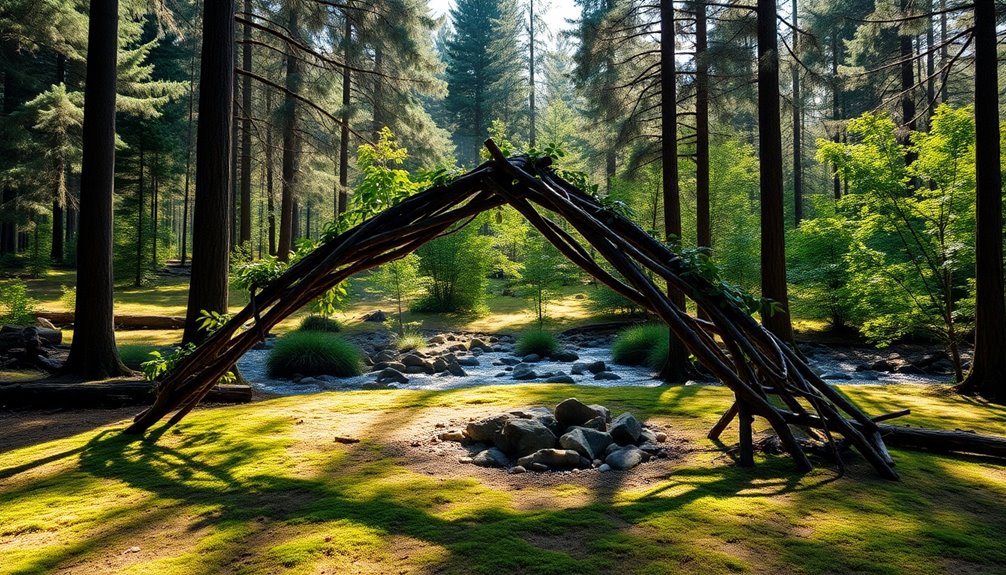
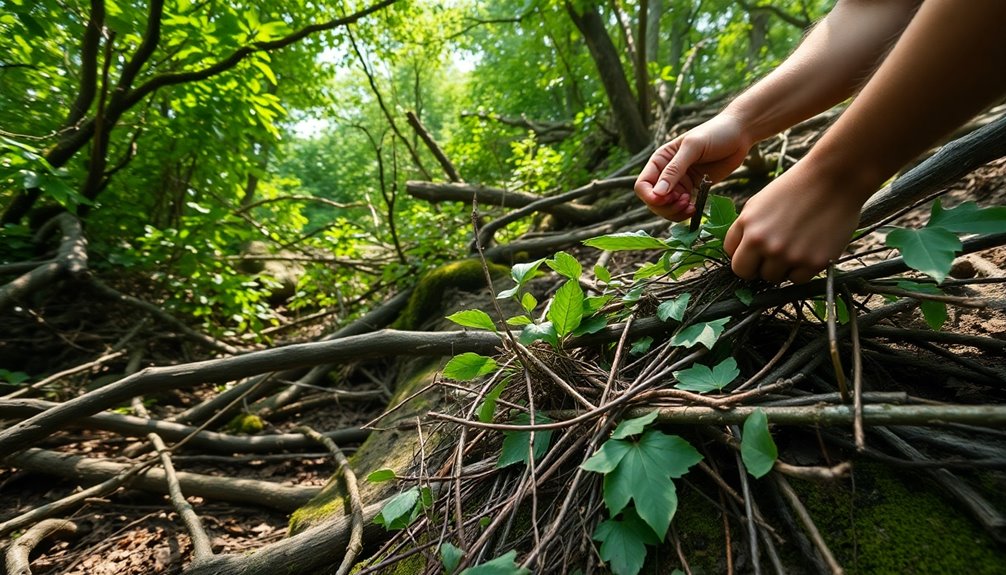
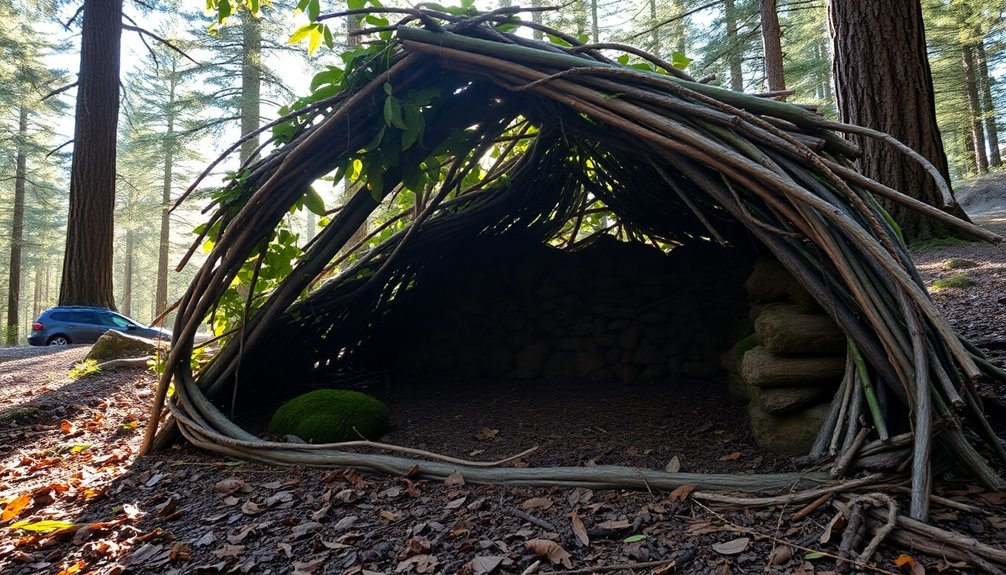
To build a shelter quickly in the wild, start by choosing a safe location away from low-lying areas and unstable hillsides. Gather sturdy materials like deadwood and dried grass. Construct a stable frame using long branches as ridgepoles, securing them with rope. Insulate your shelter by piling leaves and pine needles around it, creating a warm barrier. Make sure to monitor for wildlife and keep food stored safely away. By focusing on these essentials, you’ll create a reliable shelter that protects you from the elements. There’s plenty more to explore about shelter building techniques that could greatly enhance your survival skills. If you want to further improve your shelter building abilities, consider learning more about different types of shelters, such as lean-tos, A-frames, and debris huts. Experiment with different materials and methods to find what works best for you in various environments. By researching shelter building tips and practicing your skills, you’ll gain the knowledge and confidence to survive and thrive in the wild.
Key Takeaways
- Choose a safe, elevated site away from water sources and natural hazards to prevent flooding and wildlife encounters.
- Gather sturdy deadwood and dried grass for a solid shelter framework and waterproof roof construction.
- Create a strong frame using two anchor points, ensuring stability with a securely tied ridgepole and support branches.
- Insulate the shelter with thick layers of leaves and grass for warmth, considering double-wall construction for better heat retention.
- Maintain fire safety by positioning fires away from the shelter and storing food securely to deter wildlife.
Choosing the Right Location

Choosing the right location for your shelter is essential to your safety and survival in the wild. To start, avoid low-lying areas that are prone to flooding and water runoff. Steer clear of ravines and unstable hillsides that could lead to landslides. Pay attention to your surroundings for signs of predators, like tracks or scat, and stay away from heavily trafficked animal paths.
Caution is also necessary with standing dead trees and loose branches, which can fall unexpectedly. It's best to avoid areas with insect nests or snake habitats, as these can pose serious risks. When selecting your shelter site, aim to be no more than 60 yards from a water source, while keeping at least 200 feet away from rivers or lakes to prevent contamination. Additionally, consider the environmental impact of your shelter location to minimize harm to local flora and fauna.
Choose a flat, slightly elevated area that avoids water accumulation and provides protection from prevailing winds. Verify your site is visible for potential rescue situations and accessible for foraging. By considering these factors, you can create a safe and practical shelter location that enhances your chances of survival in the wild.
Gathering Materials

When gathering materials for your shelter, you'll want to identify natural sources nearby. Look for sturdy deadwood, dried grass, and rocks that can support your structure and provide insulation. Using effective techniques to collect these materials will guarantee your shelter is both safe and comfortable. Additionally, proper shelter construction techniques ensure that your materials are used efficiently to maintain warmth and stability within your shelter.
Natural Material Sources
Gathering natural materials for your shelter is essential for creating a sturdy and comfortable refuge in the wild. Start by sourcing framework materials like long, sturdy branches for the ridgepole and main structure. Look for recently fallen deadwood to preserve living trees. Ideal choices include willow, birch, and hazel, ensuring they're straight and long enough for your design. Natural features like trees with forked branches or rock outcroppings can provide excellent support for your ridgepole.
Next, focus on insulating and covering materials. Gather leaves, pine needles, grass, and small pieces of wood to build layers that repel water and retain heat. Ferns and bracken work well for roofing, and don't underestimate the insulating power of snow in colder conditions. For bedding, create a leaf bed using dry leaves and soft vegetation. Evergreen boughs from cedar, pine, or fir will offer a comfortable sleeping surface. Additionally, utilizing fallen branches as a primary resource for construction ensures you are not damaging live trees while building your shelter.
Essential Gathering Techniques
Effective material gathering is essential for building a reliable shelter in the wild. Start by selecting the right location. Look for a flat area that's elevated to avoid water pooling and is protected from wind. Once you've chosen your spot, clear away any debris.
Next, gather your framework materials. Search for sturdy, straight branches to create the main structural elements and a ridgepole. Use downed poles whenever possible to save energy. While gathering, avoid any weak or brittle branches. A well-constructed shelter frame is crucial for ensuring stability and protection.
After establishing your framework, focus on collecting insulating materials. Gather leaves, grass, and soft vegetation to create layers of insulation. Pine needles and moss can also be beneficial. Remember to verify these materials are dry to prevent moisture from entering your shelter.
Lastly, prepare your cordage. Use natural materials like vines or strips of bark. This will help you tie and secure various parts of your shelter. However, try to use gravity to hold the framework together, limiting your reliance on cordage.
| Task | Tips | Materials to Use |
|---|---|---|
| Select Location | Look for flat, elevated spots | None |
| Gather Framework | Use sturdy, straight branches | Dry branches, downed poles |
| Collect Insulation | Gather layers of dry vegetation | Leaves, grass, pine needles
Constructing the Frame

Building a sturdy frame is vital for the stability of your shelter in the wild. Start by selecting two strong trees or large rocks as your main anchors, making sure they're 6-10 feet apart for a lean-to or 5-6 feet apart for an A-frame. Look for robust branches capable of supporting the weight of your structure and avoid dead or weak trees that could collapse.
Next, find a long, sturdy branch to serve as your ridgepole. For a lean-to, lean the ridgepole at an angle against one of your chosen supports. If you're constructing an A-frame, secure the ridgepole horizontally between the two trees at shoulder height. Once your ridgepole is in place, place smaller branches at an angle against it to form your framework.
For a lean-to, create a sloping roof by leaning branches against the ridgepole, while for an A-frame, position two long branches to form the 'A' shape. Make certain the entire structure is stable and can withstand wind and rain. Effective shelters facilitate better resource management and conservation of energy, which can be crucial in survival situations. Use ropes, vines, or cordage to tie everything securely, and test the stability before adding any additional layers. This solid base is essential for your shelter's success.
Adding Insulation

Adding insulation is essential for maintaining warmth and comfort in your wild shelter. Start by gathering materials that are abundant in your environment, such as leaves, pine needles, grass, and straw. Aim to build a thick layer of insulation, ideally 1-2 feet, around and over your shelter. Don't forget to insulate the ground with materials like leaves or pine needles to prevent heat loss.
For enhanced insulation, consider using a double-wall construction, which creates an air gap to trap warmth. Inside the shelter, layer materials like pine boughs and grass to maximize warmth. Be cautious not to use damp materials, as moisture reduces insulation effectiveness. Regularly check for thin spots and fill gaps with more insulation as needed. Additionally, understanding environmental factors like wind direction can help you position your shelter for optimal warmth.
It's also smart to insulate your clothing by placing materials between layers. Remember to maintain your insulation by periodically adding fresh debris to the outer layer and replacing bedding materials. By following these techniques and avoiding common mistakes, you'll create a snug and warm environment that protects you from the elements while you're in the wild.
Ensuring Safety

After securing insulation for warmth, the next step in creating a wild shelter is guaranteeing your safety. Start by selecting a suitable location. Choose high ground to avoid flooding and pesky insects, and find a flat area shielded from strong winds and dead branches that might fall. Proximity to resources like water and firewood is essential, but steer clear of hazards like landslide zones. Additionally, assessing the area for natural barriers such as hills or trees can provide added protection against potential threats.
Once you've picked your spot, focus on structural integrity. Use sturdy branches to create a solid frame, testing its stability by gently pushing or shaking it. Regularly inspect and reinforce the structure to maintain its strength. Make certain the roof is waterproof and can endure wind and rain.
Fire safety is also critical. Keep fires at a safe distance from the shelter, and if you need to have a fire inside, guarantee there's proper ventilation to avoid carbon dioxide buildup. Finally, be aware of local wildlife. Before settling in, check for signs of animal habitation, store food away from your sleeping area, and maintain barriers at the entrance to keep pests out. Your safety is paramount, so take these precautions seriously.
Creating a Comfortable Interior

To transform your shelter into a cozy retreat, start by creating a comfortable interior that retains warmth and provides a restful space. Begin with soft bedding made from leaves, grass, and pine needles. This not only adds comfort but also improves insulation. Pile additional debris inside to trap heat, guaranteeing the space is snug enough to maximize body heat retention but large enough for you to lie down comfortably. Additionally, incorporating thick vegetation layers can further enhance insulation and warmth.
Consider digging a small pit and placing a heated stone in it for radiant warmth during colder nights. This simple addition can make a significant difference in maintaining a comfortable temperature.
Here's a quick overview of materials and their purposes:
| Material Type | Purpose | Tips |
|---|---|---|
| Leaves and Grass | Bedding and insulation | Use dry, abundant materials |
| Pine Needles | Soft bedding | Layer for extra comfort |
| Sturdy Branches | Shelter frame | Guarantee they're strong enough
Frequently Asked Questions
What Tools Are Necessary for Building a Shelter in the Wild?
To build a shelter in the wild, you'll need essential tools. An axe or hatchet helps with cutting timber, while a knife is great for detailed work. A folding saw can cut branches for your frame. Don't forget a folding shovel for ground prep. You'll also want sturdy cordage like paracord or bank line to secure everything. Finally, gather materials like a tarp for covering and insulation from leaves or moss.
How Long Does It Typically Take to Build a Shelter?
Imagine you're racing against time like a contestant on a survival show. Typically, it takes you about 15 minutes to an hour and a half to build a shelter, depending on the type. If materials are abundant, you'll find quick construction easier. Lean-tos, for example, can be erected in under an hour. Prioritize speed and efficiency, so you can focus on other survival tasks while staying protected from the elements.
What Are the Best Types of Natural Materials to Use?
When you're looking for the best natural materials to use, consider what's available in your environment. In forests, fallen branches, sturdy trees, and leaves work well. In open fields, a tarp or poncho can serve as your main cover. If you're in snowy areas, compact snow blocks are ideal. Always prioritize insulation—moss, pine needles, and dry grass can trap warmth effectively. Remember, using what's around you makes your shelter more efficient!
How Do I Determine the Best Shelter Type for My Environment?
Isn't it ironic that the best shelter might just be the one you overlook? To determine the best type for your environment, first assess the weather—rain or extreme heat matters. Next, evaluate the terrain for natural resources like fallen trees or rocks. Then, consider available materials; branches and leaves can work wonders. Finally, think about how much time and energy you're willing to spend. The right choices will keep you safe and comfortable.
Can I Use a Tarp Instead of Natural Materials for Shelter?
Yes, you can definitely use a tarp instead of natural materials for shelter. Tarps are lightweight and portable, making them easy to carry on your adventures. They set up quickly in various configurations, providing effective protection from wind, rain, and sun. Plus, with tie-out loops and grommets, securing a tarp is straightforward. Just choose the right location and guarantee it's taut for maximum stability and protection. You'll appreciate the versatility and ease it brings!
Conclusion
So, you've built a sturdy shelter in the wild, thinking you're all set for survival. Ironically, the true challenge isn't just the elements outside, but the unpredictable nature of your own mind. With the wind howling and shadows shifting, you'll realize that the real protection comes not just from walls, but from your ability to adapt and stay calm. In the end, it's not just a shelter; it's your resilience that keeps you safe.


