
When building shelters in any environment, pick a flat, elevated spot away from water and wildlife paths. Consider natural shelters like rock outcroppings or tree canopies for protection. Lean-tos and tarp shelters are fast to assemble and versatile against different weather. In winter, quinzees and snow caves provide great insulation. Remember to enhance your shelter with insulation and ventilation for comfort. Stay tuned to discover more design tips and techniques to help you succeed in your shelter-building efforts.
Key Takeaways
- Choose elevated, flat locations away from flooding and wildlife paths for optimal shelter placement.
- Utilize natural materials like leaves and branches for insulation and waterproofing in lean-to and tarp designs.
- Construct quick shelters like lean-tos or tarp A-frames with minimal tools for versatility in various weather conditions.
- Build snow shelters, such as quinzees or snow caves, with adequate insulation and ventilation for winter survival.
- Regularly assess weather conditions to adapt shelter designs and ensure comfort and safety.
Understanding Shelter Basics
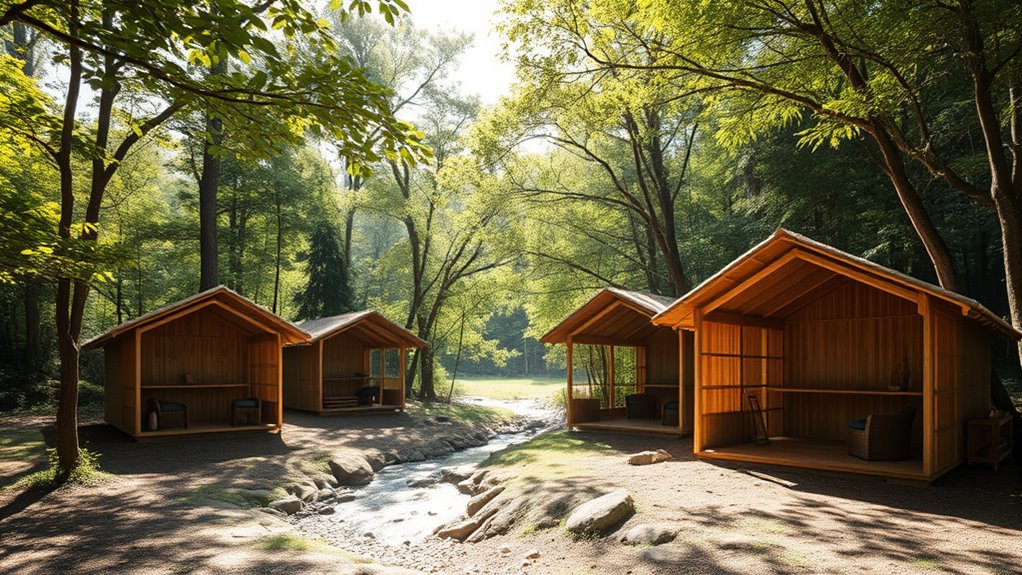
When building a shelter, choosing the right location is key to your success. Aim for a flat area, elevated and away from flooding zones and wildlife paths. Effective shelters must feature a waterproof roof, insulation, and windproofing to protect you from harsh weather. Compact shelter designs are practical, retaining heat better and requiring fewer resources to construct. Familiarize yourself with local flora and fauna, as this knowledge helps you select appropriate building materials. For instance, deadwood can provide a sturdy structure, while leaves or grass can serve as effective insulation. Understanding basic first aid knowledge is also crucial, as it ensures you can address any injuries sustained during the shelter-building process. Additionally, being aware of financial considerations for elderly care can help you plan for any potential emergencies that may arise. Moreover, incorporating essential survival gear into your shelter can significantly enhance your safety and comfort during emergencies. Consider including water sources nearby to ensure access to clean drinking water when needed. It is also vital to develop a cooperative co-parenting plan if you’re building shelters for children, as this can help ensure their emotional well-being during challenging times.
Choosing the Right Location
Choosing the right location for your shelter is essential for guaranteeing safety and comfort. Start by selecting flat, slightly elevated ground, ideally at least 200 feet from water sources to avoid flooding and provide proper drainage. Freshly squeezed juice lasts 2-3 days when refrigerated, which is important to consider if you plan to bring beverages with you. Additionally, understanding the importance of cultural intelligence can enhance your interactions with others while camping.
Pay attention to wind direction and sun exposure, as these factors will impact your shelter’s warmth and comfort. Avoid building near caves or animal paths to minimize risks from wildlife. Understanding the emotional volatility common in certain environments can help you prepare for unexpected challenges. Considering the importance of indoor air quality can also be beneficial, as it influences your overall well-being in the shelter.
Look for existing clearings or areas previously disturbed by campers; this will lessen your environmental impact and simplify construction. Regularly monitor the weather conditions, as extreme weather can affect the longevity of your fresh orange juice if you bring it along.
Finally, regularly check weather conditions and be prepared to adapt your shelter location and design based on changing environmental factors. Additionally, understanding Leave No Trace principles will help you minimize your impact on the environment while camping. Your chosen spot can greatly influence your overall experience.
Types of Natural Shelters

When you’re looking for natural shelters, rock outcroppings can offer solid protection from harsh weather. You can also utilize the tree canopy for cover, especially with conifer trees, which provide great foliage against rain and snow. Each option has its advantages and challenges, so understanding them can help you make the best choice for your needs. Additionally, beach ecosystems demonstrate how natural formations can provide shelter and support diverse wildlife in coastal environments. Using dry, seasoned wood in wood stoves can enhance combustion efficiency, making it an eco-friendly choice for heating in nearby shelters. For example, shelter requirements for farm animals like sheep and goats vary, so it’s essential to plan accordingly. Incorporating portable camping toilets in your shelter plans can also improve sanitation and comfort in outdoor settings.
Rock Outcroppings Advantages
Rock outcroppings offer significant advantages as natural shelters, especially when you find yourself in survival situations.
These formations provide immediate protection from adverse weather and require minimal construction to enhance comfort. Their excellent camouflage makes you less visible to wildlife and potential threats, which is vital for safety. Additionally, utilizing natural shelters like rock outcroppings can lead to long-term energy savings, as they help maintain comfortable temperatures without the need for additional heating or cooling systems. Furthermore, these structures can significantly benefit from solar energy solutions, allowing for the integration of renewable energy sources in a survival setting. This approach aligns with the principles of environmental innovations, promoting sustainability even in challenging situations. Moreover, incorporating solar-powered irrigation systems can enhance the self-sufficiency of your shelter by supporting food growth in the surrounding area.
Rock outcroppings also excel in temperature regulation, keeping you cooler in hot weather and warmer during cold conditions compared to exposed environments.
By utilizing these natural shelters, you’ll benefit from energy savings, as they reduce the need for extensive building materials and labor.
Additionally, the stability and strength of rock formations guarantee a secure environment, minimizing the risk of collapse, making them ideal for sheltering in the wild. Building shelters using natural resources like rock outcroppings can significantly improve your survival chances.
Tree Canopy Utilization
While exploring the wilderness, you’ll find that tree canopies offer excellent natural shelters from the elements. They provide essential protection against rain and sun, utilizing their dense foliage and branches. Understanding the concept of natural shelters can enhance your survival skills in various environments. Additionally, learning about waterproofing treatment can help you make your shelters more effective against rain. The use of sustainable fashion practices in your shelter-building approach can also promote eco-friendliness in your outdoor activities.
Here are some effective shelter designs you can create:
- Lean-tos: Use the natural structure of living trees or dead trees to quickly assemble a lean-to for basic shelter. Primitive weapons can also be crafted and utilized for protection while you establish your shelter.
- Debris huts: Incorporate twigs and fallen leaves to enhance insulation and waterproofing, making them effective against the elements. Regular maintenance of these structures can significantly improve their durability.
- Conifer shelters: Utilize conifer trees like pines for their dense foliage, which provides superior moisture protection.
- Avoid danger zones: Always steer clear of areas beneath dead branches, known as “widowmakers,” to stay safe during storms.
With these tips, you’ll harness the tree canopy’s potential for effective natural shelters. Additionally, understanding effective location scouting can help you identify the best spots for building these shelters.
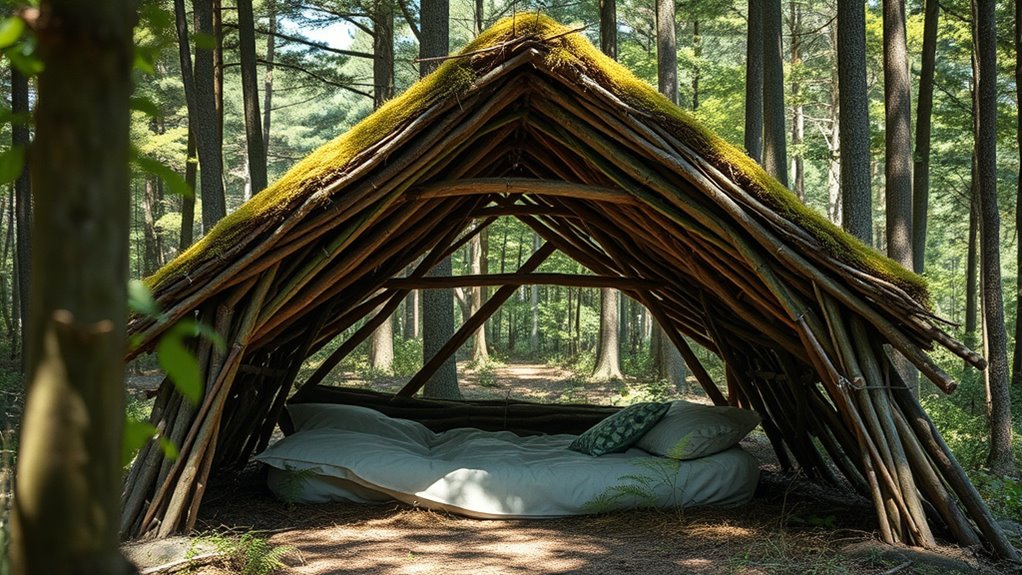
Lean-To Shelters: A Quick Solution
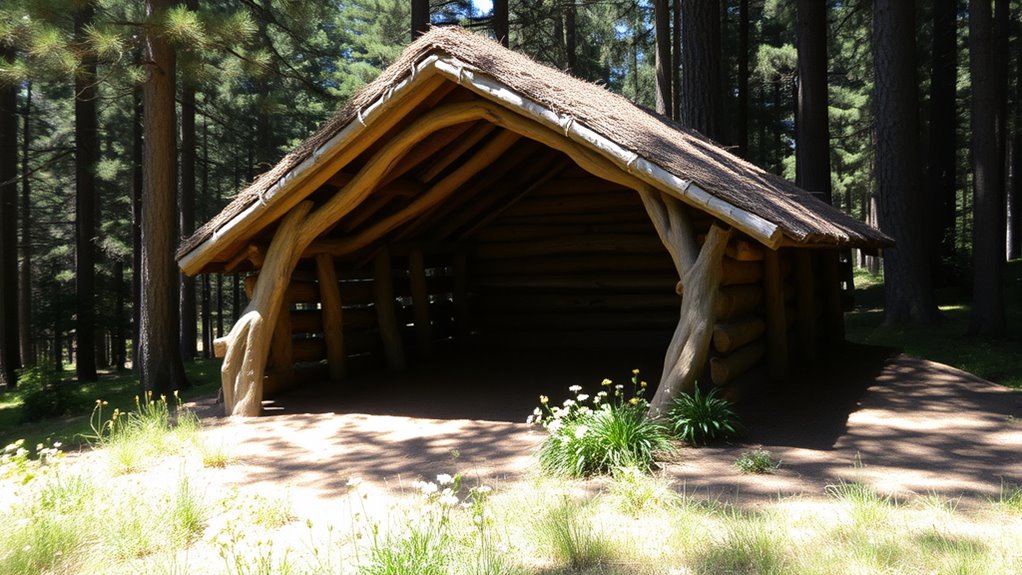
Lean-to shelters offer a quick and effective solution for those in need of immediate protection from the elements.
These structures are constructed by leaning a sturdy branch against a tree or rock, creating a slanted roof. Their quick assembly requires minimal tools, making them ideal for survival scenarios.
To enhance waterproofing, cover the lean-to with leaves, ferns, or branches to deflect rain and provide insulation. While best suited for fair weather, these shelters offer wind protection and can act as a fire shield.
When building, guarantee you’re at least 200 feet from water sources and on slightly elevated ground for proper drainage.
With these tips, you’ll create a functional lean-to that meets your urgent needs.
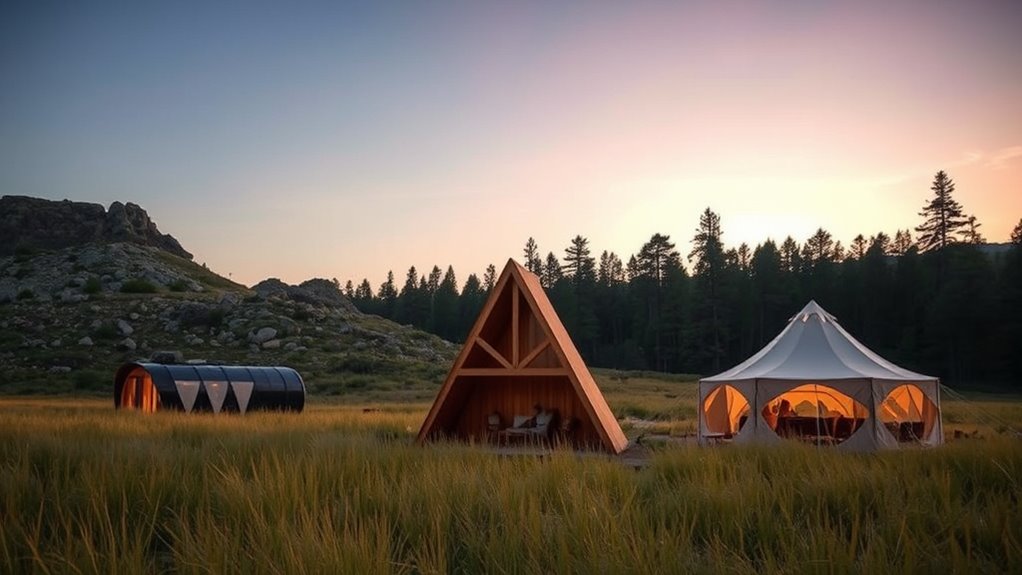
Building Tarp Shelters for Versatility
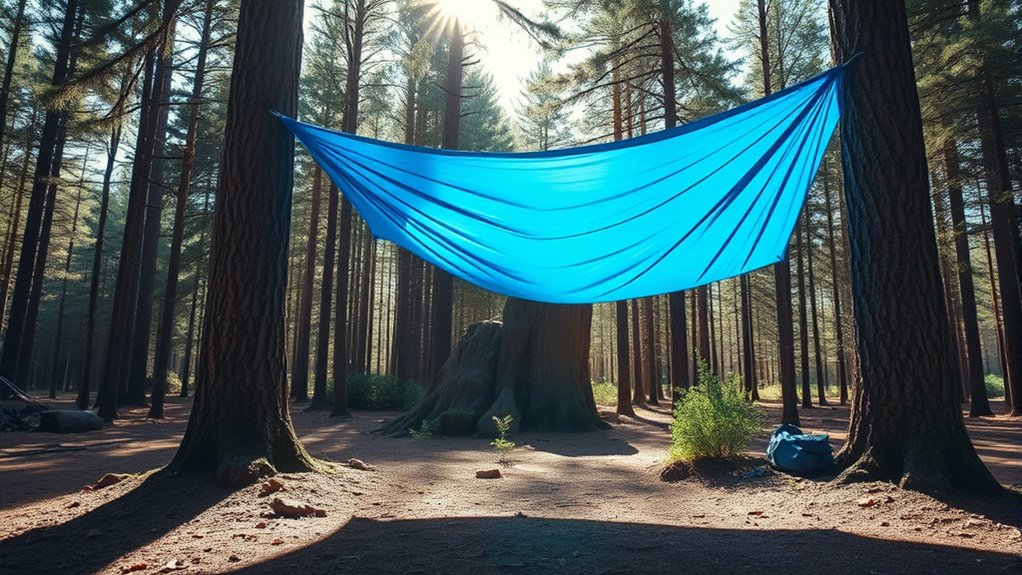
When you’re in need of a quick and adaptable shelter, building tarp shelters offers a versatile solution for various weather conditions.
Here are some effective designs you can utilize:
- A-frame: Great for rain protection and wind resistance, allowing for easy setup.
- Wedge: Its aerodynamic shape requires at least five tie-down points for stability in windy conditions.
- Tarp tipi: Provides excellent coverage and can be enhanced by natural features like trees for added support.
- Tarp burrito: This design allows for a low-drag, quick setup in under 30 seconds, ideal for emergencies.
Snow Shelters: Quinzees and Snow Caves

Snow shelters, like quinzees and snow caves, offer reliable protection against the harsh winter elements.
A quinzhee is built by piling gear under a tarp and covering it with at least two feet of packed snow. This method allows you to easily excavate a stable structure. While constructing, use guide sticks for uniform thickness and remember to create a ventilation hole at the top for proper air circulation.
On the other hand, snow caves are dug into solid snow banks, forming a tunnel and a cold well that enhances insulation. For maximum warmth, your sleeping platform should be elevated to keep you above settling cold air.
Both shelters require careful construction to guarantee adequate ventilation and effective survival in snowy conditions.
Creating Insulated Sleeping Areas
Creating a comfortable sleeping area in the wilderness is essential for a good night’s rest, especially when temperatures drop. Here’s how you can create an insulated sleeping area:
- Use natural materials: Gather leaves, pine needles, or grasses to build a thick layer on the ground for cushioning and warmth.
- Construct a sleeping platform: Elevate your sleeping area with logs or branches to reduce heat loss and stay dry.
- Incorporate a bough bed: Roll two logs side by side, filling the gap with evergreen boughs for effective insulation, at least 6 inches thick.
- Ensure proper ventilation: Add a tarp or use natural overhangs to allow airflow and prevent moisture buildup while shielding against precipitation.
These steps will help you stay warm and comfortable during your wilderness adventures.
Enhancing Your Shelter for Comfort
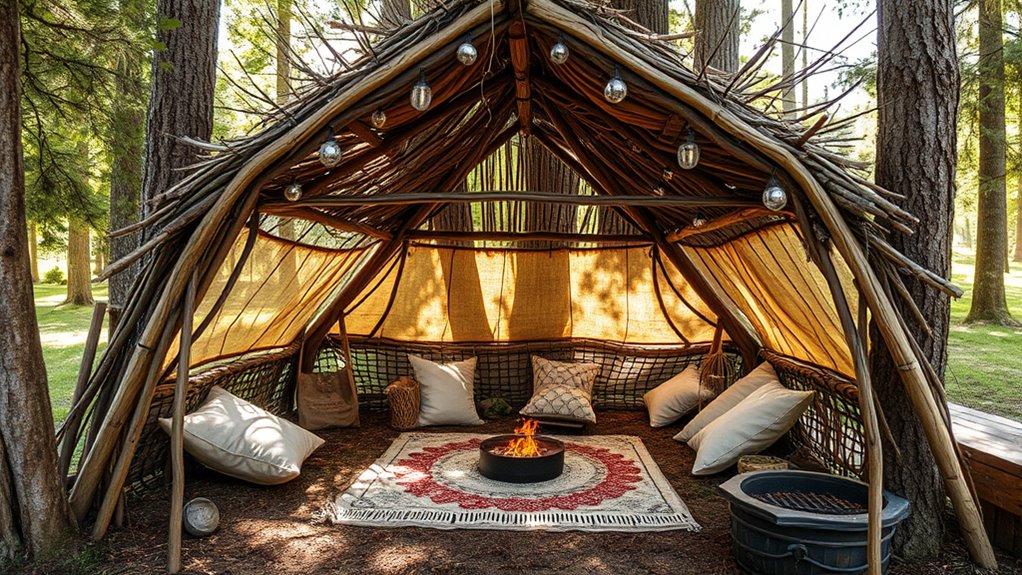
To make your shelter more comfortable, focus on insulation and ventilation.
Adding layers of natural materials can keep the warmth in, while creating small openings helps air circulate and prevents moisture buildup.
These simple adjustments can transform your shelter into a cozy retreat.
Insulation Techniques
Insulation plays an essential role in enhancing the comfort of your shelter, especially in harsh weather conditions. To effectively insulate your shelter, consider these techniques:
- Layer natural materials: Use leaves, pine needles, and grass to trap heat, creating a warm sleeping environment.
- Create a thick layer: Aim for at least 6 inches of insulation on the floor to prevent heat loss to the cold ground.
- Build a small entrance: A door flap minimizes airflow, reducing heat loss when you enter or exit.
- Utilize snow: In winter, snow can provide excellent thermal protection, thanks to its air-filled structure.
Regularly check and maintain your insulation materials to guarantee they remain effective and comfortable.
Ventilation Strategies
While ensuring your shelter is well-insulated is essential, effective ventilation is equally important for maintaining a comfortable environment. Incorporating a ventilation hole in your snow shelter’s roof helps prevent oxygen depletion, while tarp shelters benefit from openings that encourage airflow and reduce humidity buildup.
| Shelter Type | Ventilation Strategy |
|---|---|
| Snow Shelter | Install a ventilation hole in the roof |
| Tarp Shelter | Leave openings at the ends |
| Lean-To Shelter | Create a smaller entrance for airflow |
| A-Frame Tarp | Position the tarp higher at one end |
Using removable walls in ramadas allows evening breezes to flow through. By applying these ventilation strategies, you’ll create a comfortable space and enhance your shelter design.
Frequently Asked Questions
What Is the Easiest Shelter to Build?
The easiest shelter to build is often the lean-to. You can create it by leaning a sturdy branch against a vertical support like a tree.
Once that’s done, cover it with leaves, branches, or debris for waterproofing and insulation. It requires minimal materials, making it quick and efficient.
If you need something different, consider the A-frame or a tarp shelter, both of which are also simple and effective for various conditions.
How to Make a Simple Outdoor Shelter?
To make a simple outdoor shelter, start by choosing an elevated spot, away from water, to prevent flooding.
For an A-frame shelter, lean two sturdy branches against a central support and fill it with smaller sticks and leaves for insulation.
Alternatively, create a lean-to by propping a long branch against a tree, covering one side with debris.
Remember to check your shelter regularly for stability and insulation to guarantee it’s a safe refuge.
How to Build a Shelter With Natural Resources?
To build a shelter with natural resources, start by finding a good location with plenty of dead trees and avoid wet areas.
You can construct a lean-to by propping a sturdy branch against a tree and covering it with leaves and branches for insulation.
Alternatively, create an A-frame using two strong branches and weave smaller twigs across.
Don’t forget to add insulation and guarantee there’s a small entrance for ventilation and comfort.
What Is the Best Shelter for Cold Weather Survival?
Did you know that a well-constructed Quinzhee can maintain internal temperatures around 32°F, even when outside temperatures drop to -20°F?
For cold weather survival, the Quinzhee stands out due to its excellent insulation and ability to withstand heavy snow loads. A debris hut or a lean-to can also work well, especially when insulated properly.
Choose a design that suits your environment, and guarantee you prioritize warmth and protection from the elements.
Conclusion
As you stand before your newly built shelter, a chill wind whispers through the trees, reminding you that nature is both a friend and a foe. You’ve crafted a haven against the elements, but what lies beyond the shadows? With each rustle of leaves, you realize the true test isn’t just survival; it’s the choices you make in the wild. Will your shelter protect you, or will it become a mere illusion in the face of adversity?