
To build a debris hut in cold climates, first pick a sheltered spot behind a fallen log or large rock that provides natural insulation and protection from wind and weather. Construct a sturdy frame, like an A-frame or cone shape, and anchor it well. Layer thick debris such as leaves, moss, and pine needles around and inside the frame to trap heat and keep moisture out. Focus on maintaining a durable, weather-resistant structure that’s easy to reinforce—keep going to learn detailed steps and tips.
Key Takeaways
- Select a natural, sheltered site that offers insulation and protection from wind, rain, and snow.
- Construct a sturdy, conical or A-frame frame using logs or branches, securely anchored for stability.
- Layer thick debris such as leaves, moss, or pine needles over the frame to maximize insulation and seal gaps.
- Use heavier materials like packed snow or dense brush on the exterior to weatherproof and reinforce the shelter.
- Regularly inspect, reinforce, and repair the shelter to maintain its durability and effectiveness in cold conditions.

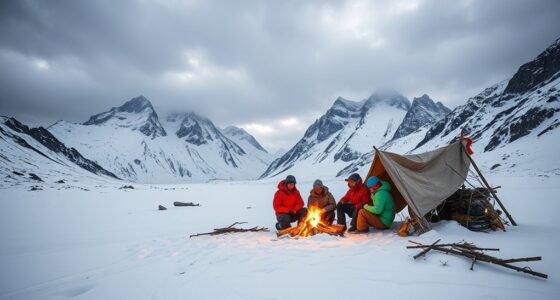
When surviving in cold climates, building a debris hut is an essential skill for staying warm and protected from the elements. The key to a successful debris hut lies in effective insulation techniques and ensuring shelter durability. You need to focus on creating a structure that not only keeps you warm but also withstands harsh weather conditions like wind, rain, and snow. To start, find a suitable location that naturally offers some protection, such as behind a fallen log or against a large rock. This will reduce exposure and help preserve the hut’s integrity over time.
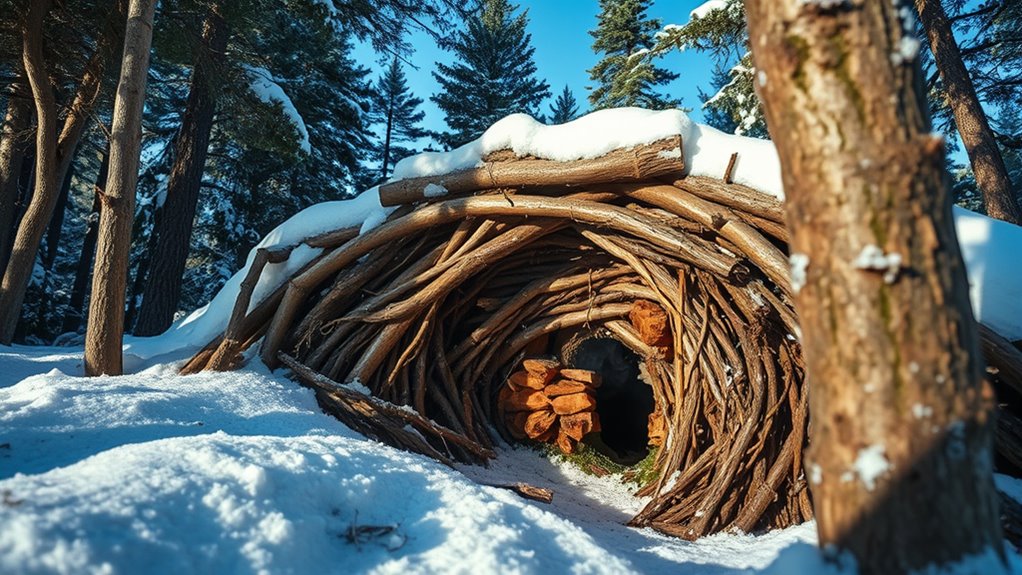
Constructing the frame is your first step. Use sturdy branches or logs to form a conical or A-frame shape, which is both stable and efficient for shedding snow and rain. Secure the frame well, anchoring it into the ground if possible, to prevent shifting during storms. Once the skeleton is in place, you’ll want to focus on insulation techniques. Gather debris like leaves, grass, moss, pine needles, or bark. These materials are excellent insulators, trapping heat inside the shelter. Layer the debris thickly over the frame, starting from the bottom and working your way up, ensuring that gaps are filled and that the insulation is dense. The thicker and more continuous your insulation layer, the better your heat retention will be.
Pay special attention to shelter durability. The outer layer of your debris hut should be tightly packed and layered, creating a windproof barrier that shields the interior from gusts. Use heavier materials like packed snow or dense brush on the exterior if available, to add extra protection. Over time, weather can erode or collapse parts of your shelter, so periodically reinforce the structure by adding more debris or adjusting the layers. If you can, create an entry that minimizes heat loss, like a small opening covered with a flap of fabric or additional debris.
Your debris hut’s success hinges on how well it insulates and how durable it is against the elements. It’s not just about stacking debris; it’s about layering it effectively to trap heat and building a sturdy structure that can endure the environment. With careful construction and regular maintenance, your debris hut will serve as a reliable refuge, keeping you warm and safe in even the coldest conditions. Remember, the better your insulation techniques and the more durable your shelter, the longer you’ll stay protected against the unforgiving elements.
Frequently Asked Questions
How Do I Choose the Best Debris Materials for Insulation?
To choose the best debris materials for insulation, focus on natural insulation qualities and debris selection. Look for dry, fluffy, or fibrous materials like leaves, pine needles, or moss, which trap air and provide better insulation. Avoid damp or wet debris, as it reduces effectiveness and can cause mold. Select debris that is lightweight and abundant in your environment, ensuring you maximize insulation while maintaining the hut’s stability and warmth.
Can Debris Huts Withstand Heavy Snow Loads?
Your debris hut can withstand heavy snow loads if you incorporate structural reinforcement and choose dense, layered materials. Regularly clear snow accumulation on the roof to prevent collapse, and build a sturdy, angled roof to shed snow efficiently. Use strong branches or logs as support beams, and layer debris tightly to add insulation and stability. These steps help guarantee your hut remains safe and resilient during heavy snowfalls.
What Are the Signs of Structural Failure?
You’ll notice signs of structural failure if the debris hut’s foundation stability weakens, causing shifting or sinking. Watch for a sagging or collapsing roof, which indicates compromised roof integrity. Cracks or gaps in the walls, unusual leaning, or excessive movement also signal problems. If you see any of these signs, it’s essential to reinforce the structure promptly, ensuring your shelter remains safe and effective against cold weather.
How Do I Maintain Ventilation in a Debris Hut?
To maintain ventilation in your debris hut, focus on effective ventilation design by creating small, strategically placed openings that allow fresh air to enter and stale air to escape. Use snow insulation around these vents to prevent heat loss while keeping airflow consistent. Regularly clear snow from vents to ensure they stay unobstructed. Proper ventilation keeps airflow steady, reduces condensation, and helps preserve a safe, warm environment inside your hut.
Are Debris Huts Suitable for Prolonged Survival Situations?
A debris hut is like a temporary shelter, but it’s not ideal for prolonged survival. You’ll face challenges with wildlife interaction and maintaining warmth over time. While it offers quick protection, it lacks the durability needed for extended stays. To survive longer, you need proper navigation techniques and a more permanent shelter. Think of it as a stepping stone, not a long-term solution, demanding constant adaptation and awareness.
Conclusion
As you step out of your debris hut, remember it’s more than just shelter; it’s your shield against the cold, a symbol of resilience and resourcefulness. Each branch and leaf represents your strength, your ability to adapt in harsh environments. Like a heartbeat in the wilderness, your shelter beats with life and hope. Trust in what you’ve built—your sanctuary—because in the coldest moments, your ingenuity is what keeps you warm and alive.